Link-Live App Features
The main Link-Live app screen on your CyberScope Air facilitates the claiming process, displays Link-Live related information, and allows you to enable or disable automatic uploads for each testing app as needed.
In this Topic
Link-Live App Screen
Once your tester is claimed, you can control a few features from the Link-Live app's main screen.
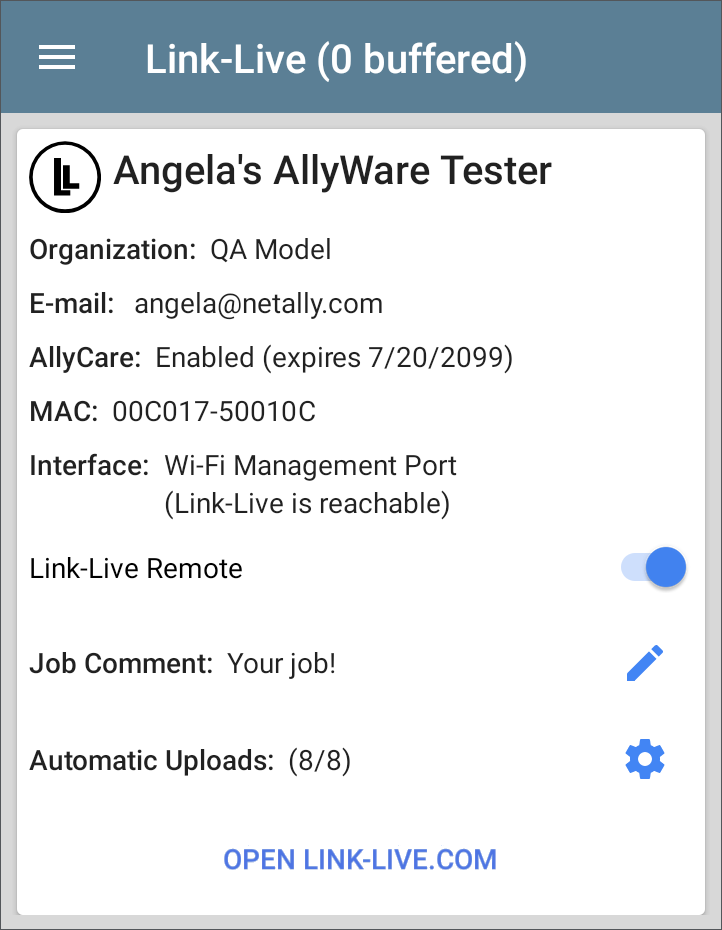
The tester unit's name that displays on Link-Live.com is shown to the right of the Link-Live icon  . You can change this name on the Link-Live.com Units
  page.
page.
Organization is the Link-Live organization where the unit is claimed. The Organization is also shown on Link-Live Upload screens when you upload results or files.
E-mail is the first e-mail address assigned to the unit, which receives test result notification emails.
NOTE: The Organization and Email address shown here are assigned on the Link-Live.com website. The fields displayed in CS Air's Link-Live app are informational.
AllyCare indicates the status of NetAlly's optional AllyCare services. See NetAlly.com/Support for more information.
MAC is this tester unit's MAC address.
Interface shows which network interface Link-Live currently uses to post results and whether Link-Live can be accessed via that interface.
Tap the OPEN LINK-LIVE.COM link to open Link-Live.com on the CS Air's web browser.
Link-Live Remote Toggle
The Link-Live Remote toggle in the Link-Live app enables or disables access to the remote control function for your CS Air. This feature allows you to remotely view and control your tester via the Link-Live website. Link-Live Remote requires an AllyCare subscription. See Remote Access for details.
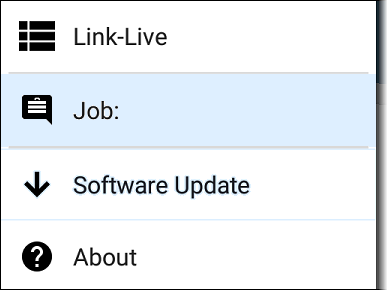
Job Comment
The Job Comment attaches to all test results and files uploaded to Link-Live, until you change or delete it.
To enter or change the persistent Job Comment on the main Link-Live app screen, tap the blue pencil icon to the right of the Job Comment.
Note that the Job Comment field appears on other Link-Live upload screens, allowing you to change it from multiple locations on the CS Air. No matter where you change the Job Comment, it is updated everywhere on the unit.
Both the job comment and individual test comments also appear on Link-Live upload screens like the one below:
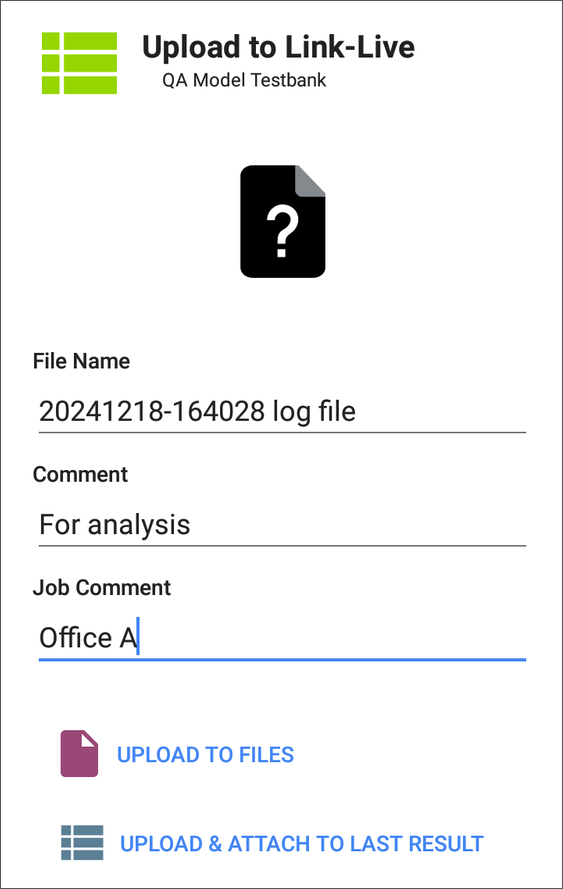
The regular Comment is only attached to one set of test results or uploaded file.
Automatic Upload Settings
The Automatic Uploads settings in the Link-Live app let users disable and enable automatic uploading of test results for many of the NetAlly test apps.
NOTE: Not all test apps support automatic uploading, and not all NetAlly testers have the same apps. The list of apps that can auto-upload will depend on which type of product you are using.
Tap the gear icon to open the pop-up that lists your testing apps that can auto-upload.
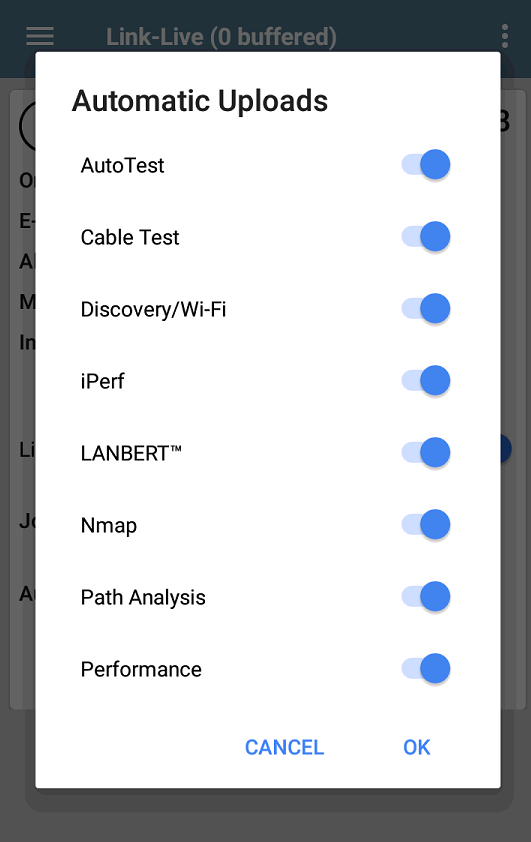
Tap the toggle button for each app to turn automatic uploading on or off. Automatic uploads are enabled by default. If disabled, you will still have options for uploading manually within each testing app. Apps that do not support auto-uploading typically still have manual upload options. See Uploading Test Results and Files.
Saving Locally
If Save Locally Only is enabled in the General Settings, the Link-Live app instead automatically saves new test data to the file system. Automatic Save options are shown in the Link-Live app instead of Automatic Uploads.
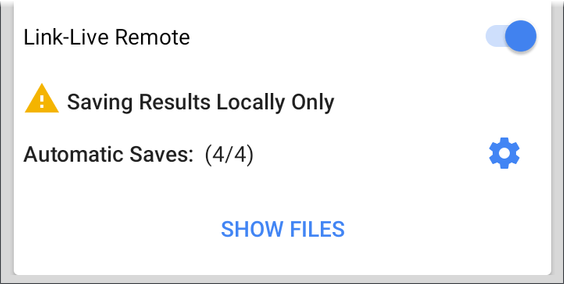
CAUTION: If this setting is enabled, you will NOT be able to upload saved test results to Link-Live later. Your test results will only exist in JSON form on your tester. This setting is mostly for support, demo, and troubleshooting purposes. Disable in General Settings.
Buffered Uploads
The "(# buffered)" in the Link-Live screen header indicates the number of files stored in the device memory when no active network connection is available. The buffered file types are listed below the main app card.

The buffered files automatically upload to Link-Live.com once your CS Air connects to an active network.
A red delete icon in the buffered file list indicates that a particular result file cannot be uploaded to Link-Live.

Delete the problem file, and remaining buffered files will upload if you are connected to a network.
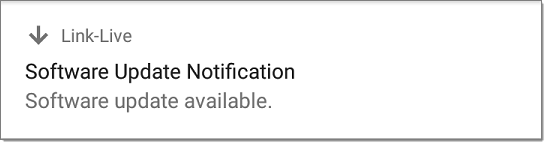
Software Update
The left-side navigation drawer for the Link-Live app also lets you check for and download any available software updates.
See Updating Software in the Software Management chapter for specifics.
System Notifications
Link-Live can send messages to your test unit. They are displayed in the tester's Notification Panel.