Common Tools
Web Browser/Chromium
Some of the testing apps, like AutoTest, Ping/TCP, and Discovery, give you the option to Browse to internet addresses using a web browser application. AirCheck G3 has the Chromium browser pre-installed.
NOTE: Browser Security: The built-in Chromium browser uses any available active network connection (wired or wi-fi, test or management) and can access the public internet. Be mindful of your connection’s security before entering any sensitive information.
Telnet/SSH
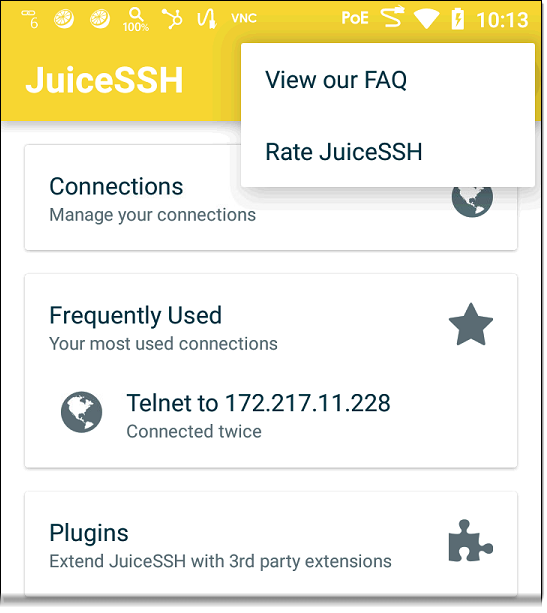
The JuiceSSH  application is pre-installed. Both the AutoTest and Discovery apps provide links to start a Telnet or SSH session using the current device address. Selecting these options opens JuiceSSH and starts a session. You can also open JuiceSSH from the Apps screen.
The JuiceSSH app maintains a list of previous connections. When opened from a NetAlly app, JuiceSSH uses the first connection in the list that matches the IPv4 address or device name and type. If no match is found, a new connection entry is created and used.
As a third-party app, JuiceSSH contains its own tutorials. For additional help, tap the action overflow button  at the top right of the JuiceSSH app screen, and select View our FAQ.
External Camera
The AirCheck G3 does not have a built-in camera, but you can use an external USB camera to take pictures to accompany Link-Live data. The pictures can be shared or uploaded to the Link-Live cloud service with test data. You can also edit or annotate pictures in the Gallery app. NetAlly has verified that the following cameras work with the app:
-
Logitech C270 HD Webcam
-
EMEET 1080P Webcam
-
NexiGo N660
-
Microsoft LifeCam HD-3000
Set Up
To begin using the camera app:
-
Make sure your unit is claimed to Link-Live.
-
Plug your USB camera into either the top or side USB 2.0 Type-A port of your unit.
-
From the home desktop, tap the App Store application.
-
Scroll down to the USB Camera app from NetAlly.
-
Tap the blue DOWNLOAD button. Wait for the download to finishes and the blue button changes to show OPEN.
-
Verify the Download completes and the blue button changes to show OPEN.
-
Tap the OPEN button to launch the USB Camera app. The app then prompts you to set several options.
-
When prompted to allow the USB camera to take pictures and record video, select WHILE USING THE APP. The app launches and shows a preview image.
-
(Optional) To move the camera app icon to the system home desktop:
-
Tap the circular Home button at the very bottom of the system screen to view the desktop.
-
Swipe up from the bottom of the screen to view all installed applications.
-
Find the USB Camera icon.
-
Press and hold the icon, and then drag it up into the home desktop icons area.
-
To Share an Image
To share an image to Link-Live:
-
From the system home desktop, launch the USB Camera app. The app opens and a live preview image appears in landscape mode.
-
Point the camera and press the circular Shutter button to take a picture. The Share
 and Delete
  icons appear on screen.
 -
Tap the Share
icon to display the Link-Live upload screen. -
Enter any a File Name, comment, or job comment as needed.
-
Tap SAVE TO LAST TEST RESULT to attach the image to the last uploaded test result, or tap SAVE TO UPLOADED FILES to save the image to your Uploaded Files folder on Link-Live. (You can then view your uploaded files from a PC logged into Link-Live.)