Locating Wi-Fi Devices
You can use your CS Air to locate APs and Wi-Fi clients from the details screen for APs, BSSIDs, or Clients.
Also see the Spectrum App chapter for information on locating sources of interference using a NetAlly NXT-2000 Portable Spectrum Analyzer.
To begin a location:
-
Start the Wi-Fi app.
-
From the menu icon
 , select APs, BSSIDs, or Clients.
 -
Select the AP, BSSID, or Client that you want to locate.
-
Tap the FAB menu icon
 in the lower right corner of the screen. This displays the FAB pop-up options.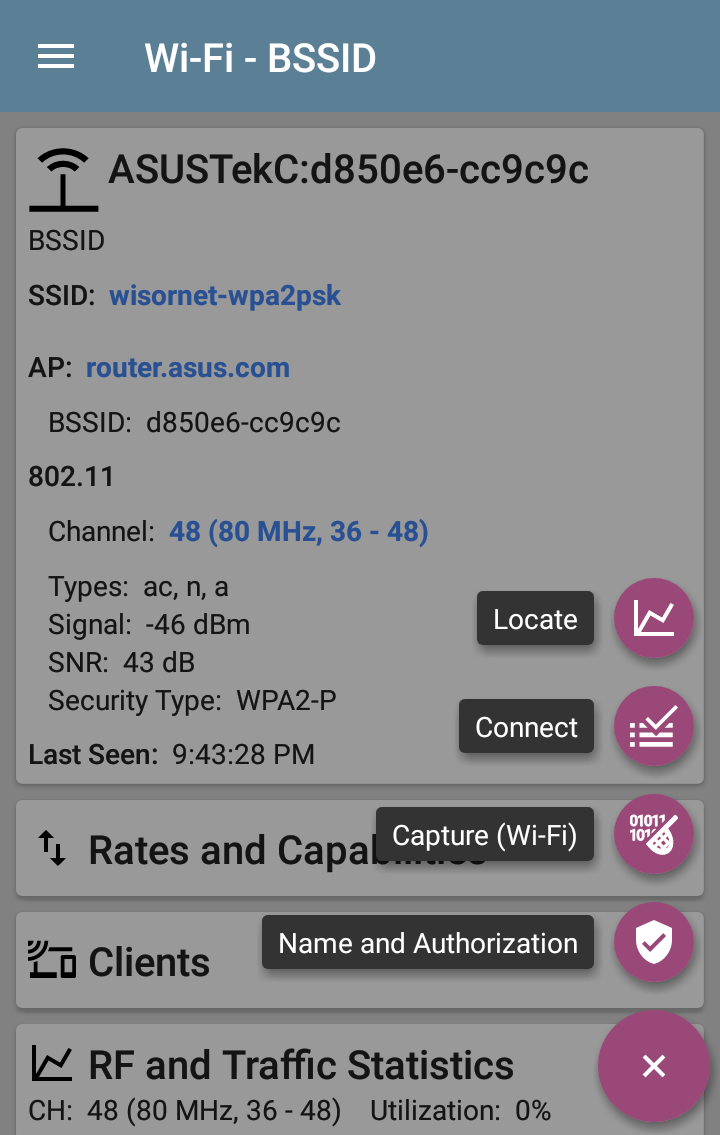
-
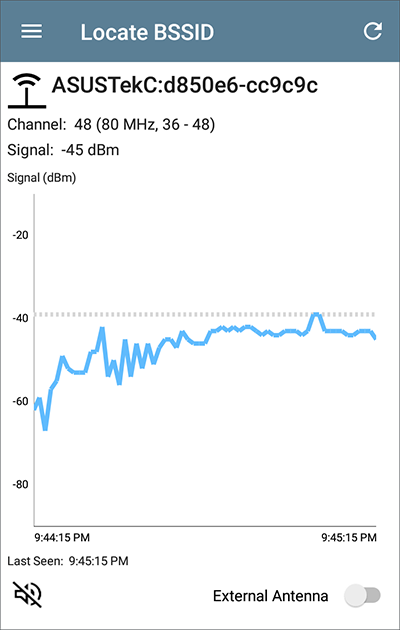
Tap Locate. This opens the Locate screen and causes your CS Air to "listen" for the BSSID or Client wireless devices you want to find using either the internal antennas or the optional external antenna (sold separately or in kits).
-
Tap the speaker icon
 to enable an audible tone that increases in
 -
Tap the speaker icon
 to toggle sound on or off.
 -
Use the volume buttons on the side of the tester to control tone volume.
-
-
Tap the External Antenna toggle to enable the optional external antenna for BSSID or Client location.
-
In areas with many rooms, like a hospital or school, the internal antennas are more effective. See Using the Internal Antennas to Locate below.
-
In large, open areas, the external antenna can help locate devices more quickly. See Using the Optional External Antenna below.
-
-
Locating with the Internal Antennas
CS Air uses the internal antennas by default.
-
Navigate to the RF and Traffic Statistics screen for the BSSID (AP) or client you need to locate.
-
(Optional) Tap the speaker icon to toggle the audible tone on or off.
-
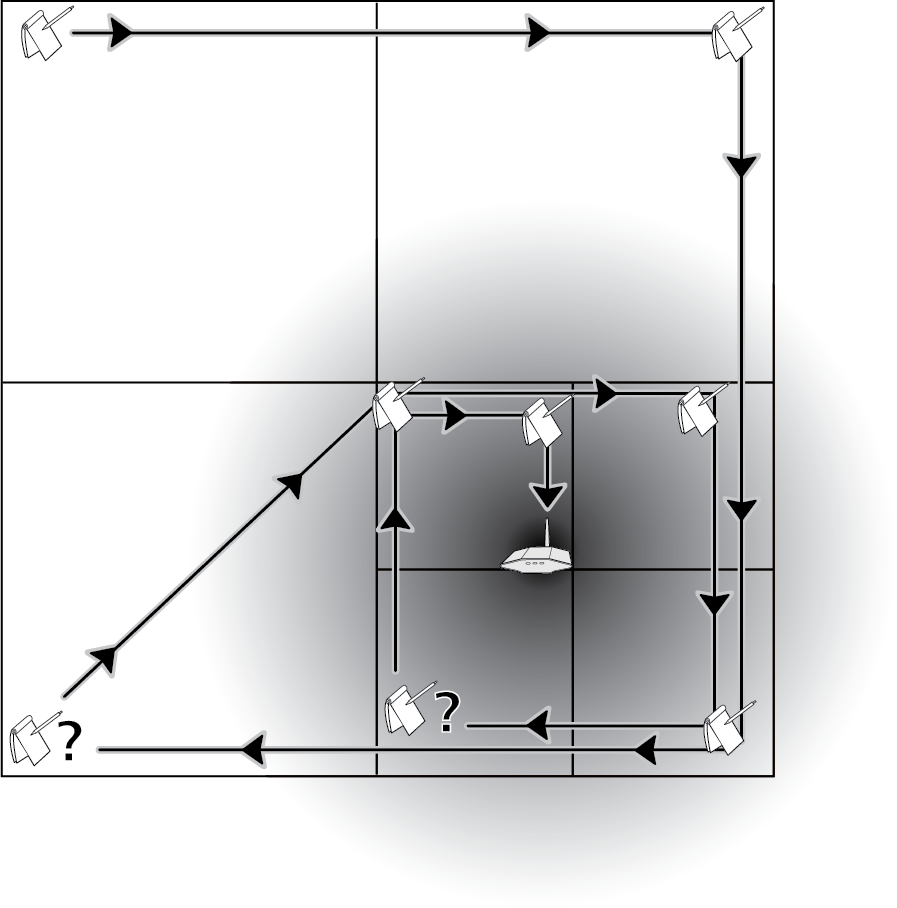
Divide the area you want to search into four sections.
-
Go to one corner of your search area, and note the device's signal strength on the Signal graph.
-
Go to the other three corners of the area, and note the signal strength at each corner.
-
Go to the section with the strongest signal.
-
Repeat steps 3 through 6 until you find the device.
If you still cannot find the device, try looking on the floors above or below you. If you cannot find a client, try locating the AP to which the client is connected first.
Locating with the Directional External Antenna
In large, open areas, the directional external antenna can help determine the direction of a signal source more precisely than the internal antennas. Visit NetAlly.com for purchasing information.
-
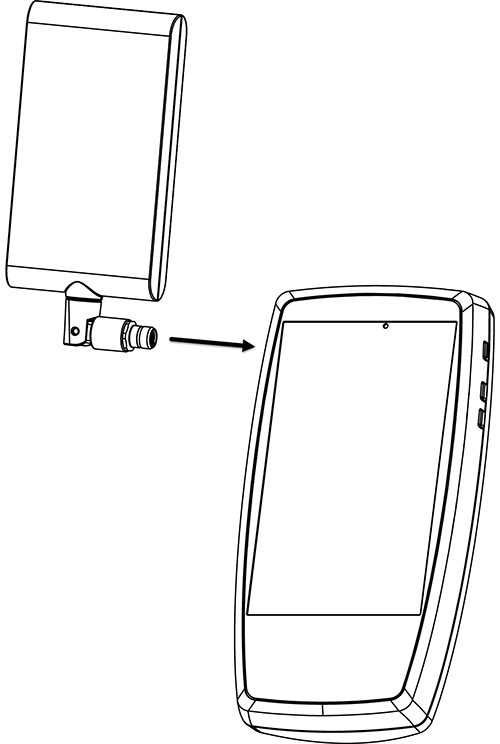
If using the Directional Tri-band (2.4, 5, and 6 GHz) external antenna, screw the antenna's RP-SMA connector into the
-
On the RF and Traffic Statistics screen, tap the External Antenna toggle to enable the external antenna.
-
(Optional) Tap the speaker icon to toggle the audible tone on or off.
-
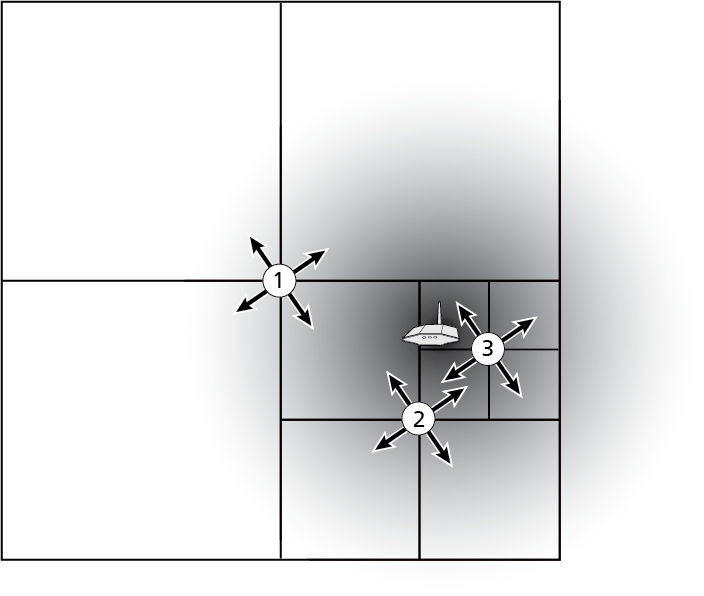
Divide the area you want to search into four sections.
-
Go to the center of your search area.
-
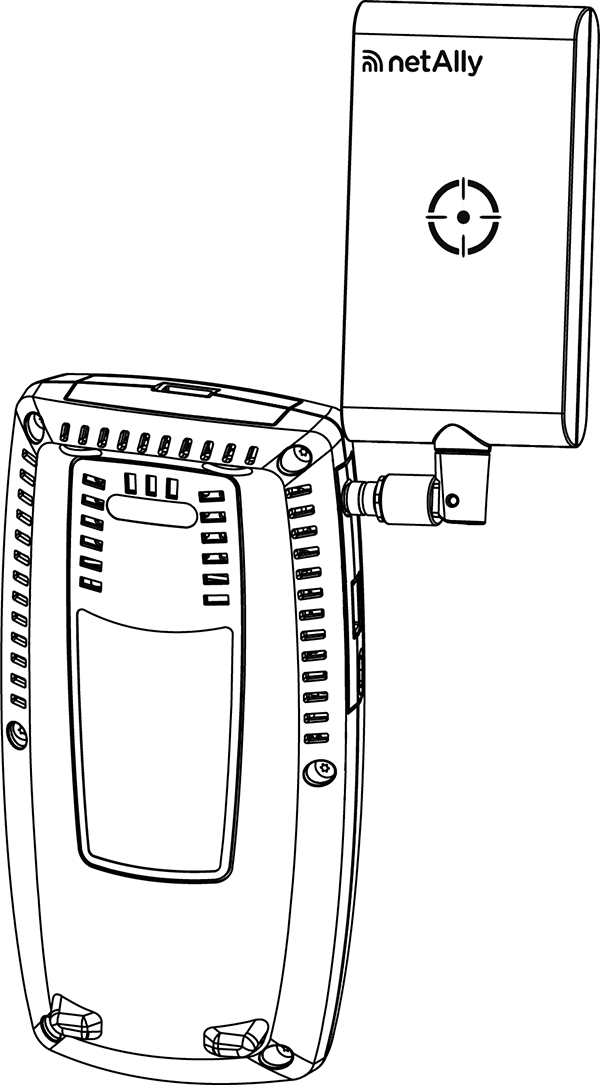
For the Directional Tri-band external antenna, use the swivel joint on the RP-SMA connector to angle the antenna so that the "target" silkscreen on the antenna points toward your search area, as shown below. Point the antenna towards each corner of the area. To get the best measurements, hold it at a constant height and above barriers such as cubicle walls.
-
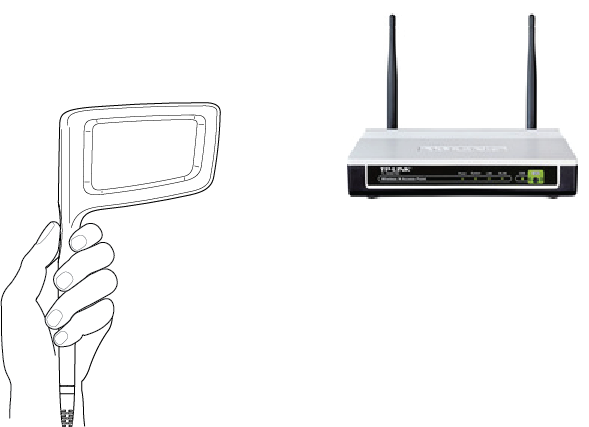
For the Dual-band Flag antenna, point the front edge of the antenna toward your search area, as shown below.
-
Go to the middle of the section with the strongest signal.
-
Repeat steps 4 through 7 until you find the device.