Updating Software
Users with an active AllyCare subscription can download regular software updates. Visit our AllyCare site for more information:
Netally.com/allycare-support/
Your EtherScope nXG accesses software updates from the Link-Live Cloud Service "Over-the-Air" (OTA). However, you can also manually download and install updates if you do not want to claim your unit to Link-Live. See Manual Updates below.
Over-the-Air Updates
For an OTA update, you must create an account and "claim" your EtherScope nXG unit at Link-Live.com. Then your EtherScope can find and download software updates. See Getting Started in Link-Live.
NOTE: All updates downloaded via the Link-Live app are cryptographically validated for integrity and authenticity. Avoid applying update files from unknown sources.
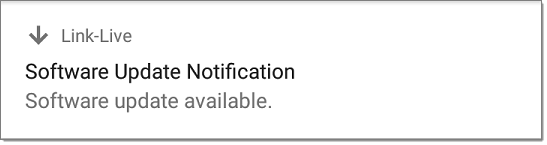
The first time you claim your EtherScope nXG to Link-Live, a software update may be available. If so, an update icon  appears in the Status Bar. Slide down the Top Notification Panel, and then select the notification to update your unit.
-
To check for available software updates at any time, open the Link-Live App
 from the Home screen.
 -
In the Link-Live App, tap the menu icon
 or swipe right to open the left-side navigation drawer.
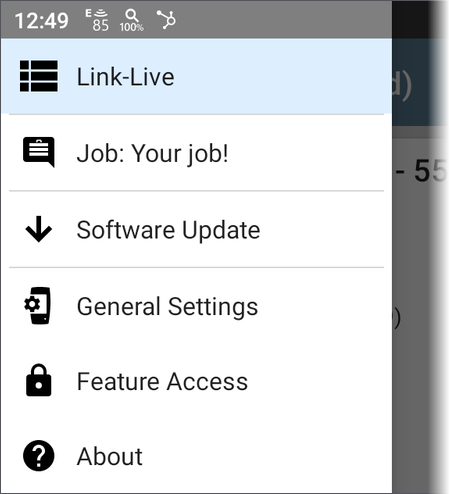
-
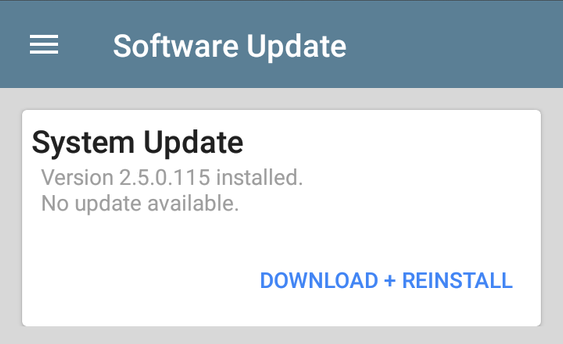
Tap Software Update. The Software Update screen opens and displays the version number of any available updates.
-
Tap Download + Install (or Download + Reinstall) to update the operating system and NetAlly applications. The update downloads and installs automatically. When finished, the unit restarts.
-
After updating, check the Software Update screen again in case another update is still required.
Manual Updates
You can get update files by contacting NetAlly's customer Support at NetAlly.com/Support or by downloading them from Link-Live.com as follows:
-
Log in to the Link-Live web site.
-
Open the left-side navigation drawer by clicking the menu icon
, and then select Support > Software Downloads. -
Locate and select the update file for your unit. The file name is in the format: <product name abbreviation>-ota-user.zip.
-
Save the update file to a PC.
NOTE: Update files manually transferred to the device must come from verified NetAlly support sources. Unverified .zip files may compromise device security.
Updating the System Software
Reference Buttons and Ports if needed.
-
From your PC, copy the .zip file to
-
Power off your EtherScope unit.
-
Press and hold the Volume Up button, and then press the Power button. Continue to hold the Volume Up button until the Recovery screen appears. (You can release the Volume Up button a few seconds after this screen appears.)
-
In Recovery Mode, use the volume buttons to highlight
-
Press the Power button to confirm the selection.
-
Use the volume buttons to highlight the correct update file on the
-
Press the Power button to confirm. The EtherScope opens the Updater, installs the update, and then restarts with the update installed. This process can take 5 to 10 minutes. When complete, the message
-
Use the volume keys and Power button to select reboot system now. Your unit should boot normally.