Collecting AirMapper Data
This section details how to collect and manage your survey data.
In this Topic
Conducting a Connected (Active) Survey
Changing Dwell Time During a Survey
Adding Wi-Fi Management Port Data
Uploading AirMapper Surveys to Link-Live
Conducting a Passive Survey
The floor plan you have selected in AirMapper Settings displays on the main AirMapper screen.

-
Tap START to begin the survey.
A message displays the survey type, radio, and Bluetooth status. This message appears each time you begin or restart or return to the survey from another app. Tap Dismiss to remove the message.

-
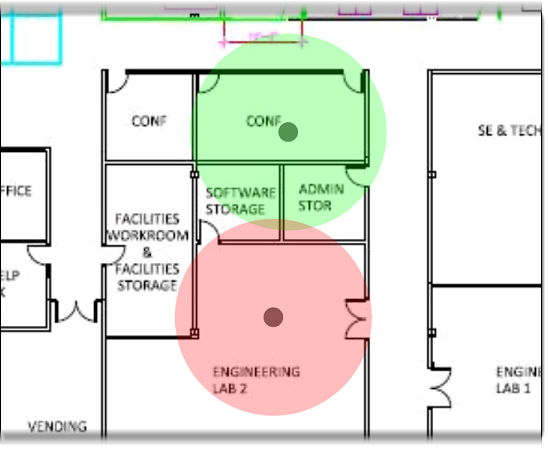
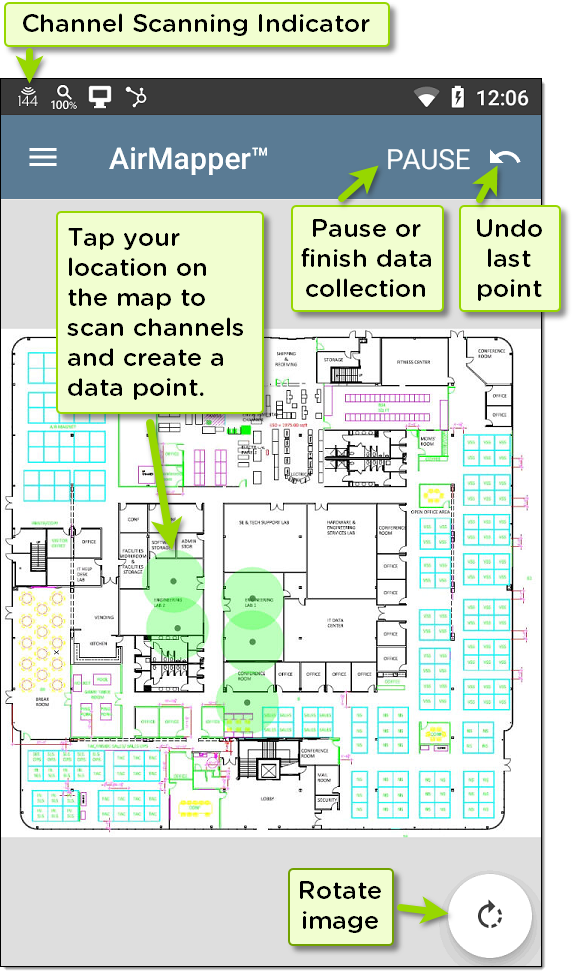
To collect data, move around your site, and tap the map at your current location to scan the enabled wireless channels in that spot. This displays a red circle on the floor plan.
Do not move from the current location until the data point on the screen turns from red to green. (This takes only a few seconds and shows when the scan is complete.)
You can undo the last point, rotate the image, and use swiping or pinch-to-zoom gestures to pan and zoom the map as needed.
If you use the default Auto Sampling (Passive) survey, you can collect data points automatically, especially when sampling in straight lines such as long hallways or when crossing open spaces.
-
Tap the floor plan to take a survey measurement, and wait for the circle to turn green.
-
Move across the survey area, walking steadily in a straight line. Your unit emits a tone and increments a counter on the AirMapper screen header each time it reaches the value set in the Auto Sampling Period setting.

TIP: Tap the floor plan if you have to change directions or if you change your pace to walk either faster or slower.
-
Tap floor plan again when you reach the end of the straight line. AirMapper automatically spaces regular measurements along the path between the two locations you tapped, according to the Auto Sampling Period. These measurements are displayed in blue. (The second green circle may overlap differently depending on where you tap the floor plan a second time.)

To check the Wi-Fi status, look at the icon
 in the top status bar to see the channels that the EtherScope is scanning in real time.
 -
-
To stop or pause your survey, tap PAUSE. This changes the Undo icon to the upload icon
 .
.-
If you want to upload your results to Link-Live, tap the upload icon
, select Upload to Link-Live to display the Link-Live upload screen. See Uploading AirMapper Surveys to Link-Live for more information. (You can resume your survey after uploading.) -
Tap RESUME to add more data points.

-
To start a new AirMapper survey, open the AirMapper Settings (tap the navigation menu icon
 or swipe from the left-side drawer) and select Clear Survey.
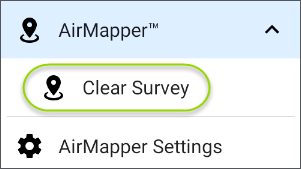
-
To stop your survey, close AirMapper.
-
Conducting a Connected (Active) Survey
The steps for conducting a connected active survey have several key differences from those for a passive survey:
-
Before beginning the survey, use AutoTest to run a Wi-Fi profile that connects to the desired SSID.
-
Tap START to begin the survey. If you did not start the AutoTest profile or if the test is still in progress, a message displays at the bottom of the screen, and the survey cannot start.
-
Collect data as you would a passive survey, as described above.
-
If the connection is lost (such as by roaming out of range or a signal blockage), the link notification changes to an X. AutoTest continuously tries to reconnect to the SSID.
Survey points taken during this unlinked time are displayed in yellow to indicate areas where there is not coverage for that SSID.
-
You can check the Wi-Fi connection in several ways during your survey:
-
To check the Wi-Fi status, look at the icon
in the top status bar to see the channels that the EtherScope is scanning in real time. -
Swipe down from the top of the screen to expand the system notification pull-down list and display the actively connected channels and channel width.
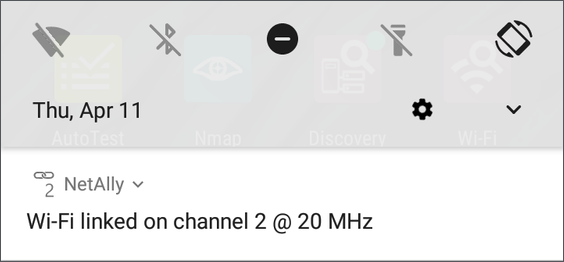
Tap the down arrow next to NetAlly to show additional information:

-
If AutoTest was the recently used application other than AirMapper, you can double-tap the Recent button
 at the bottom of the screen to quickly toggle between AirMapper and Autotest.
-
-
To stop or pause your survey, tap PAUSE, as described above for a passive survey.
Changing Dwell Time During a Survey
NetAlly does not recommend that you change settings during a survey. An exception is Dwell Time, which sets the amount of time the EtherScope lingers on each channel to gather data. You can increase the Dwell Time value to get averages of beacon signal. To change the Dwell Time setting:
-
Tap Pause to pause your survey.
-
Open the AirMapper settings, (tap the navigation menu icon
or swipe from the left-side drawer). -
Tap Dwell Time to set a new value.
-
Return to the AirMapper screen and tap Resume to return to your survey.
Adding Wi-Fi Management Port Data
For active or passive surveys, the active connection data is uploaded along with your other survey data if the Wi-Fi Management port is connected to an SSID. You can then view this information in its own heatmap displays on Link-Live.
Adding and Editing Comments
-
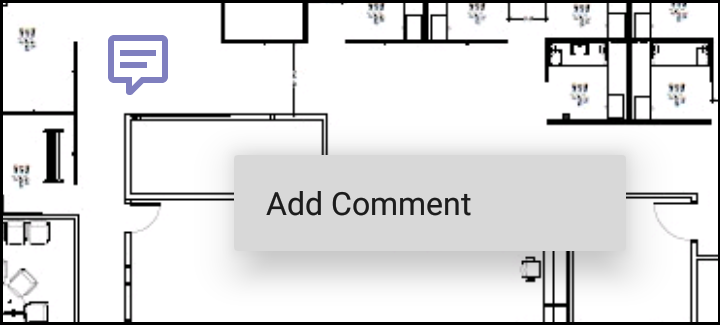
To edit a comment, long-press on the comment. (If two comments are very close together, AirMapper selects the comment closest to where you pressed.) A context menu appears. Tap Add Comment. A dialog appears for you to type your comment. When you are done, tap OK to add the comment.
-
To edit or delete a comment, locate the comment, and then long-press on it. The selected comment turns dark and a menu appears. Tap Edit Comment to change the comment, and then tap OK to save the edit. To delete the comment, select Delete from the menu.
Deleting Survey Points
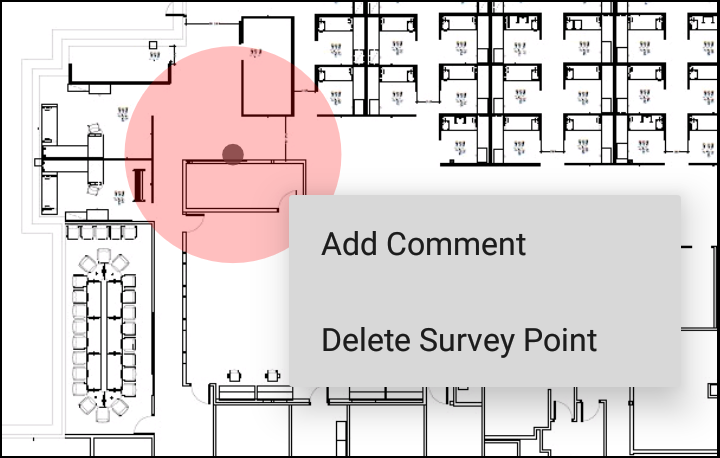
Long press over the survey point you want to delete. The selected survey point turns red and a context menu appears. If two survey points overlap, the closest survey point is selected. Tap Delete Survey Point.
Uploading AirMapper Surveys to Link-Live
Uploading your data to Link-Live lets you view colored heatmaps and use various analytical tools.
-
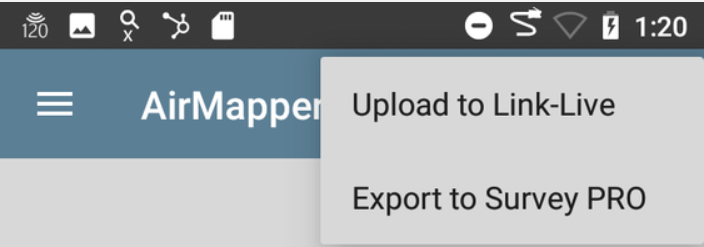
Tap the upload icon
. -
Select Upload to Link-Live from the pop-up menu to display the Link-Live upload screen.
-
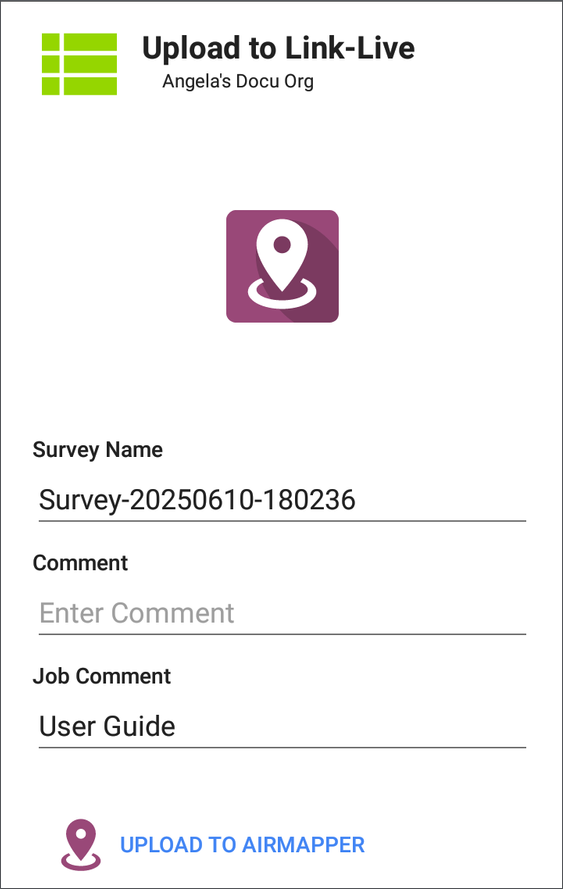
(Optional) Use the Link-Live upload screen to enter a survey name, a comment for the overall survey, and a job comment (such as a note about the overall job status).
NOTE: The Job Comment remains the same until you delete or change it. -
Tap UPLOAD TO AIRMAPPER to upload the data and return to the main AirMapper screen. You can then return to the AirMapper screen and tap Resume to return to your survey to add more data points, start another survey, or close AirMapper.
NOTE: When you upload data from a survey (or save it locally), your unit also uploads Discovery and Wi-Fi Analysis files to assist with data analysis on Link-Live. When you upload an active survey, the connection log is also uploaded.
Exporting AirMapper Data to AirMagnet Survey PRO
When your survey data collection is complete, you can export the data as a .amp file for import into AirMagnet Survey PRO for advanced analysis, planning and reporting.
-
Tap the upload icon
. -
Tap Export to Survey PRO in the pop-up menu.
-
(Optional) Type a new name the .amp file.
-
(Optional) Tap one of the file folders displayed in the upper part of the screen to select a local file location.
-
Tap the Save button to create the .amp file and upload it to Link-Live (or to save the file locally).

-
Export the .amp file from Link-Live to download it to your PC for use with AirMagnet Survey PRO.
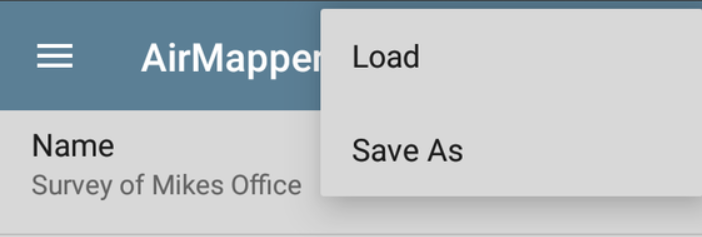
Loading and Saving AirMapper Settings
You can save the entire survey configuration as named settings by tapping the disk icon in the title bar.
![]()
This menu allows you to load saved settings or to save the current settings.