Path Analysis Settings
The Path Analysis source device is always your
Populating Path Analysis from Another App
Like other LR 10G testing apps, when you open Path Analysis from another app, like Discovery, the address of the network component you were viewing in the previous app is pre-populated as the Path Analysis Destination.
Configuring Path Analysis Manually
Open the app settings to configure a custom destination and select an Interface and Protocol. To open from the Path Analysis app screen, tap the settings ![]() icon, or open the left-side navigation drawer and select Path Analysis Settings.
icon, or open the left-side navigation drawer and select Path Analysis Settings.
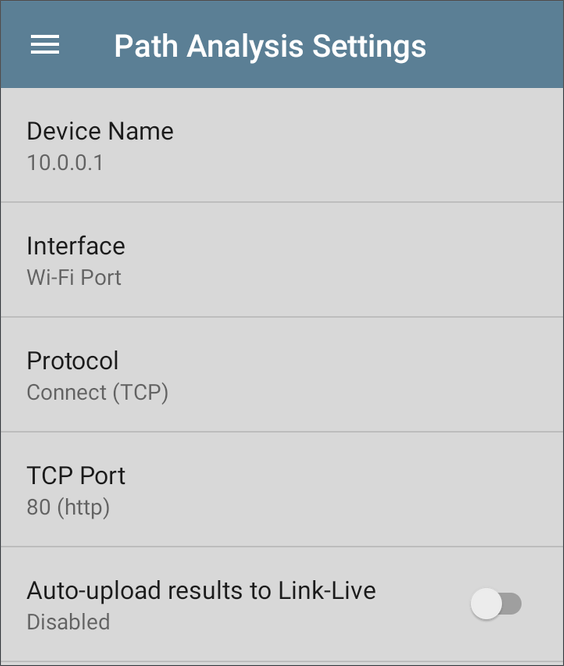
On the Path Analysis Settings screen, tap each field as needed to configure your target:
Device Name: Tap to enter the IP address or DNS name of the Path destination. The default is www.google.com.
Interface: This setting determines the device port to run the path analysis runs. Tap the field to select a port. (See Selecting Ports for explanations of the different ports.)
NOTE: LR 10G must have an active network link on the selected port to run a Path Analysis. If Any Port is selected, available links are used in the order shown in the Interface selection dialog.
See Test and Management Ports for explanations of the different ports and how to link.
Protocol: Tap to select the Connect (TCP), Ping (ICMP), or Echo (UDP/7) protocol for your Path Analysis.
TCP Port: This field only appears if you have selected the Connect (TCP) Protocol. Tap to enter the port number over which you want to run Path Analysis. (You may need to enter a specific port number because routes can vary based on the port number and/or may be blocked by firewalls.)
Auto-upload results to Link-Live: When enabled, the Path Analysis app automatically uploads test results to Link-Live each time a test completes.