Adding and Configuring Profiles
To add new test profiles to the current AutoTest, tap the floating action button (FAB) on the AutoTest screen.
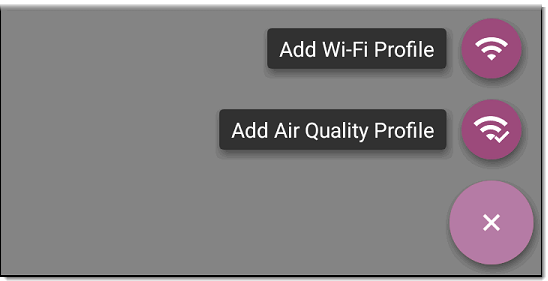
The profile's configuration screen appears
After you configure the profile settings, tap the back button  at the bottom of the screen to open and run the new test profile.
Duplicating a Profile
To duplicate an existing profile, go to the AutoTest Settings screen, then tap the action overflow icon  next to the profile you want to copy and select Duplicate. The new copy appears in the profile list with the same settings as the original.
Creating a Wi-Fi Profile from the Wi-Fi Analysis App
You can also create an AutoTest Wi-Fi Profile from the Wi-Fi Analysis app's SSID or BSSID Details screen. This is a quick and easy way to add a Profile to connect to a Wi-Fi network in your vicinity.
-
Open the Wi-Fi app
 from the Home screen.
 -
Tap the menu button
 to select the SSIDs or BSSIDs list screen.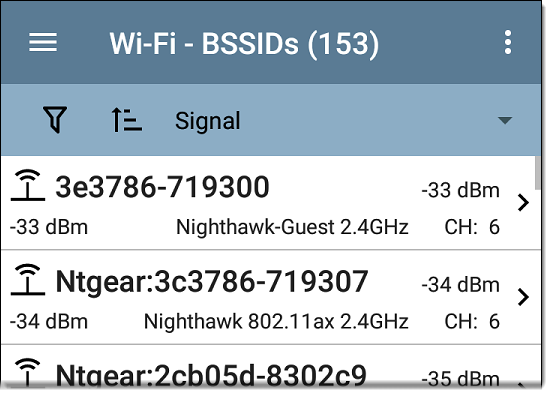
-
Tap an SSID or BSSID's card to open its Details screen.
-
Tap the FAB (floating action button)
 to open the floating action menu.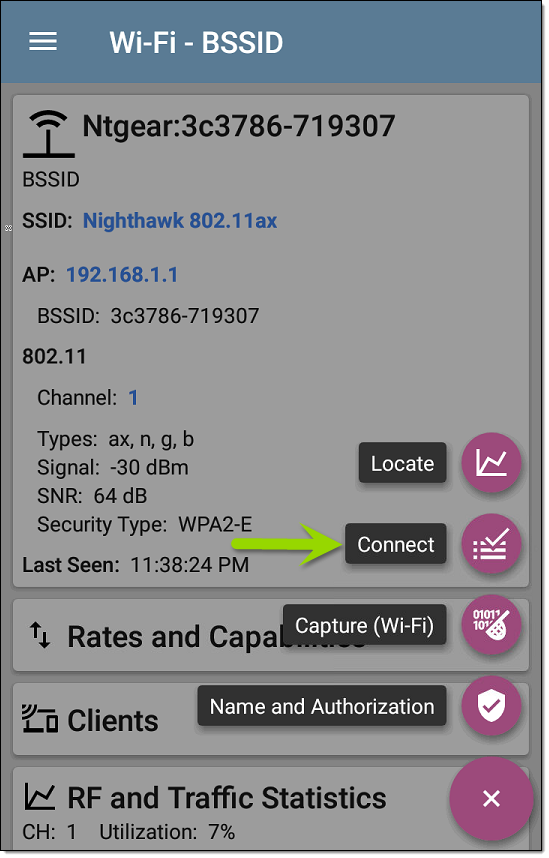
-
In the floating action menu, tap Connect.
A Wi-Fi Profile called "Connect to [SSID/BSSID]" is created in AutoTest.
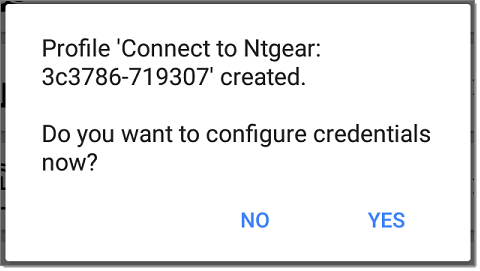
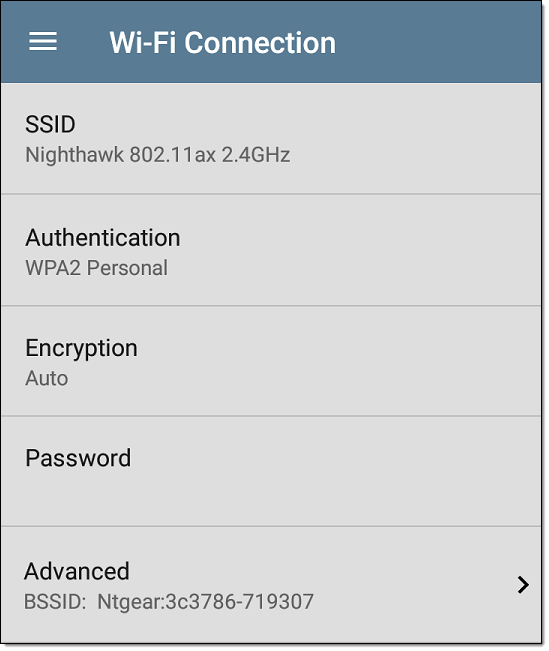
The SSID, BSSID (if applicable), and Authentication Type are auto-populated in the Wi-Fi Connection settings for the new profile.
-
Tap YES in the pop-up dialog to review and configure additional credentials.
-
Enter any additional credentials, like the network Password.
-
After configuring, tap the back button
to return to and run the new Profile.