Managing NetAlly Test App Settings
This topic explains how to reset, load, save, import, and export the test settings for NetAlly testing apps.
For instructions on restoring factory defaults to the entire test unit, see Restoring EtherScope nXG Factory Defaults.
In this Topic
Resetting Testing App Defaults
Saving App Settings and Configurations
Transferring AutoTest Settings to Other Devices Using Link-Live
Import/Export Settings for All Apps
Resetting Testing App Defaults
After you adjust settings in the NetAlly apps, you may need to reset an app's settings to the defaults. The following process resets all app-specific settings to the factory defaults.
 CAUTION! This operation deletes all saved settings, including testing profiles and other application data.
The Discovery app is used as an example in the following steps:
-
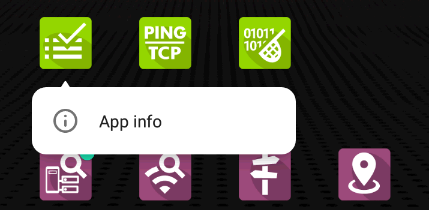
Access the App Info screen by long pressing (touch and hold) on an app's icon on the Home or Apps screen.
-
Tap App info.
-
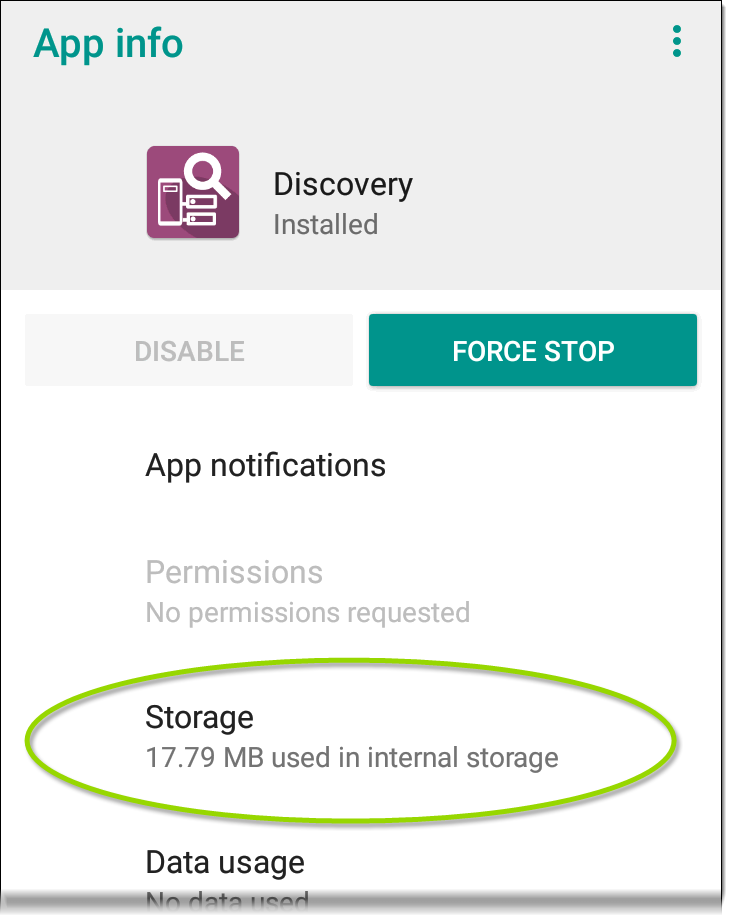
On the App info screen, select
(You can also access the App Storage screen from Device Settings > Storage > Internal shared storage > Other apps.)
 -
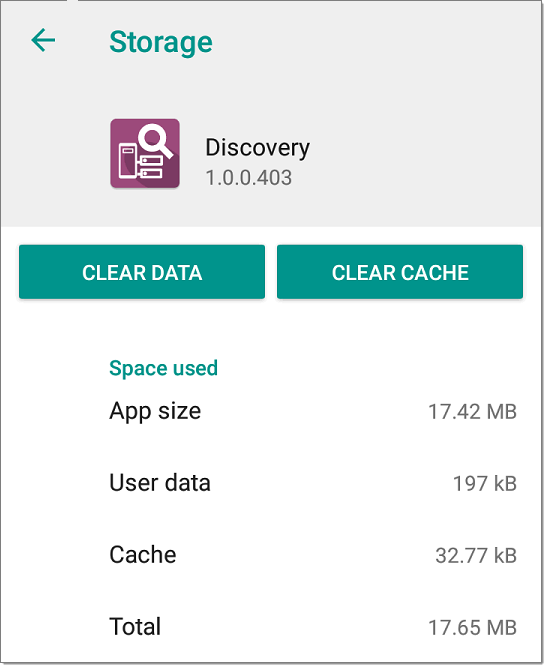
On the Storage screen for the app you selected, tap
-
When a dialog prompts you to delete the data, tap OK.
All of the app's settings are reset to factory defaults.
Saving App Settings and Configurations
Many of the NetAlly testing applications allow you to save and reload configured settings by selecting the save button  that appears at the top right within the app's main screen.
The following apps allow you to save and load settings configurations:
The iPerf app is shown below as an example.
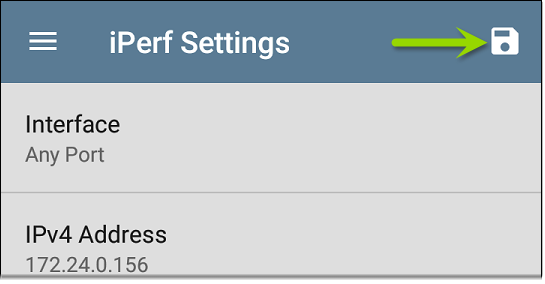
The following options display in a drop-down menu:
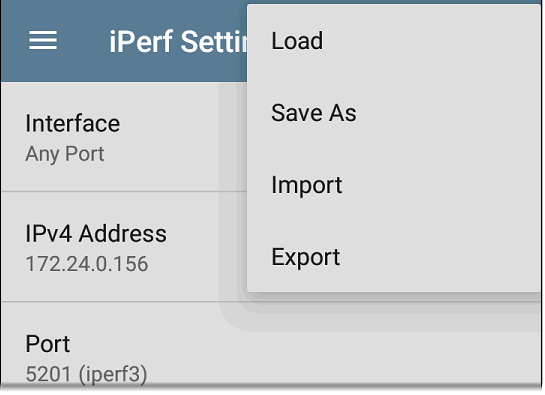
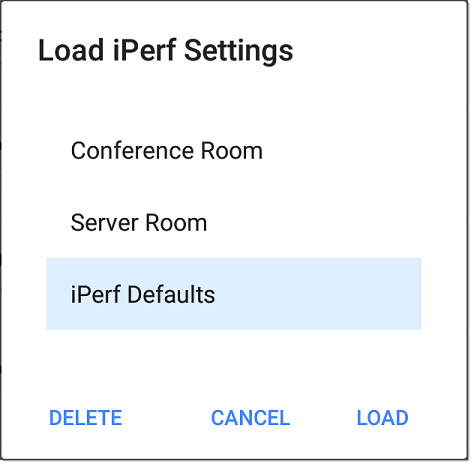
- Load: Open a previously saved and named settings configuration.
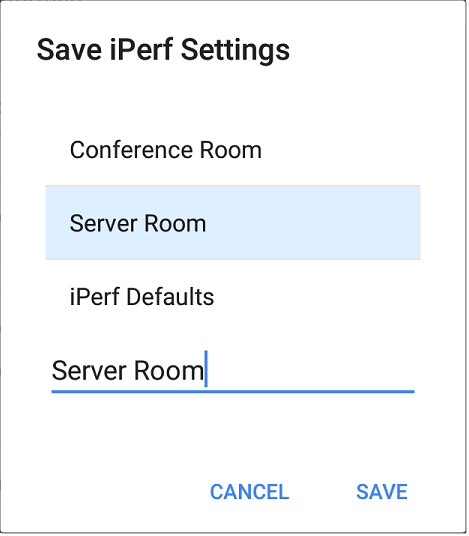
- Save As: Save the current settings with an existing name, or enter a new custom name.
- Import: Import a previously exported settings file.
- Export: Create an export file of the current settings, and save it to internal or connected external storage.
- Export To Link-Live: Export the current settings directly to the Link-Live cloud service.
See Exporting/Importing App Settings (below) for more details.
Saving a Default Test App Configuration
If you find you are frequently resetting app defaults, you can save the default configuration of settings for later use within the NetAlly testing apps. Loading a saved default configuration within an app allows you to access the default settings without deleting other configurations. This strategy can be most useful for Discovery Settings and Problem Settings.
- Go to an app's settings
 screen.
 - With all settings set to the defaults, tap the save button and Save As.
- Save a default configuration with an obvious name like "Default Profiles" or "Discovery Defaults."
- Do not change the settings in your default configuration to non-defaults without also saving a new, custom-named configuration.
Import/Export Settings
EtherScope nXG provides functionality for importing and exporting saved test app settings for transfer to additional units, Link-Live, USB storage, or to other devices.
The following apps enable you to import and export settings and configurations:
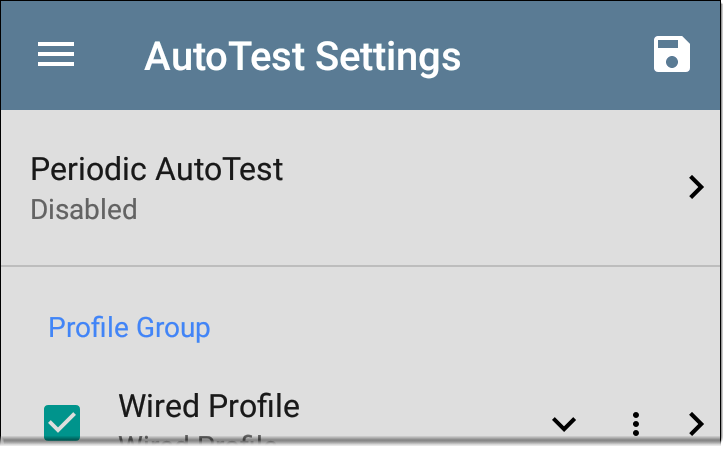
AutoTest Settings, including Profile Groups
The AutoTest Settings are shown as an example in the images below.
-
Tap the save button
to import new app settings or export the currently active and selected app settings.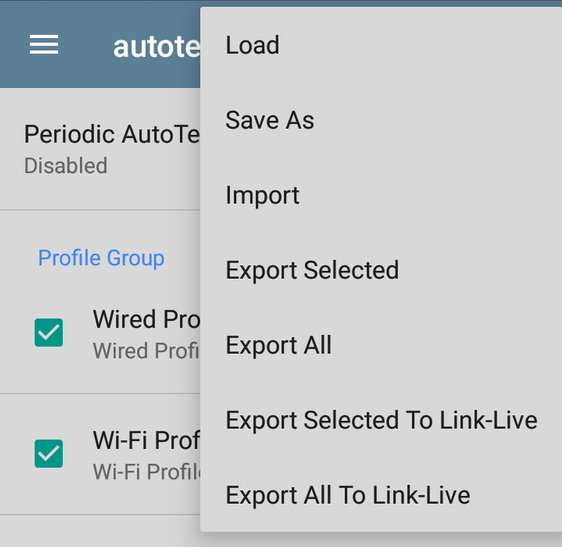
-
Selected (checked) items in shared lists of configurations are the only ones exported when you choose Export Selected. This can include any checked items in submenus (such as AutoTest Test Targets or Community Strings in Discovery Settings). You can also select Export All to export all selected and unselected items.
-
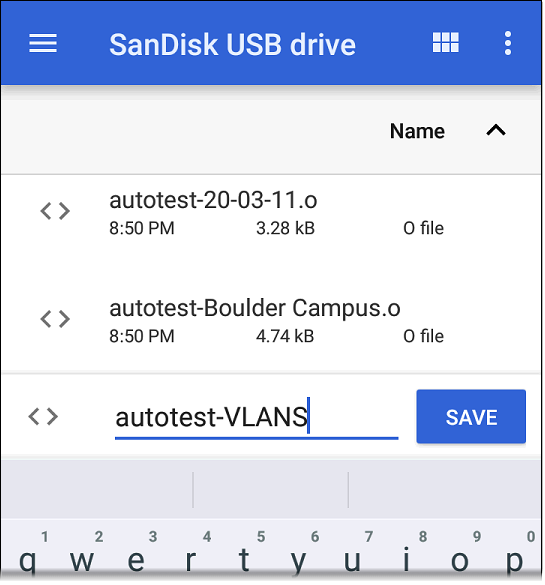
Unsaved configurations without a custom name are auto-named with the app name and date:

-
Saved configurations are auto-named with the app name and custom settings name:
-
You can rename the export file as needed.
-
Settings can be saved to any connected external or internal storage. See Managing Files for instructions on accessing folders and moving files.
-
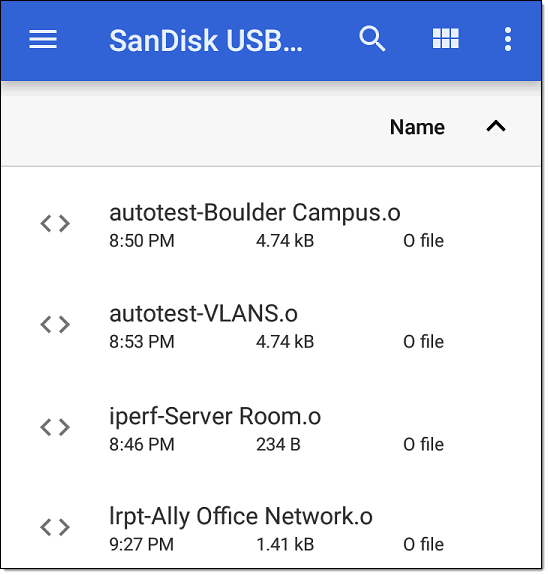
Settings are saved with the .o file extension.
-
Selecting Import from an app opens the Files app, where you can navigate to and select the .o file you want to import.
-
Imported settings configurations overwrite existing saved configurations with the same name that are already in the app.
Transferring AutoTest Settings to Other Devices Using Link-Live
You can use the Link-Live cloud service to transfer AutoTest settings with other EtherScope nXG devices.
-
Do some setup before you begin.
-
Export the settings file(s) that you want to share to Link-Live.
-
Use Link-Live to select other devices to which you want to transfer the settings.
-
Use each selected unit to import the settings.
Before You Begin
-
Make sure that you have access to the following:
-
The device from which you will get the settings
-
A PC-based browser
-
The devices to which you will transfer the settings file
-
-
Make sure that you have claimed and updated the software for all EtherScope nXG devices to which you want to transfer the settings. (You can use the Link-Live app or web site to do the claiming. See Claiming the Unit for instructions.)
Export the Settings File(s)
This procedure is done on the device from which you are transferring the settings.
-
In the AutoTest app main page, tap the settings icon
in the top right. This opens the list of profiles. -
If you plan to export only selected profiles, use the checkboxes to choose those profiles from the list.
-
Tap on the save icon
in the top right to display the save menu options.
-
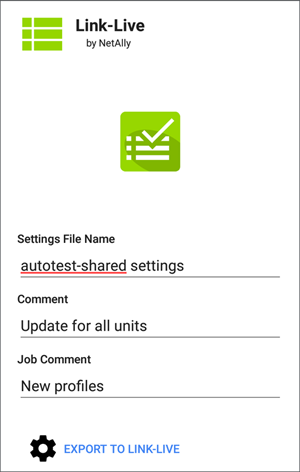
Tap Export Selected To Link-Live (if you selected profiles) or Export All To Link-Live on the menu. This opens the upload screen for Link-Live.
-
(Optional) Edit the file name, add a comment, or add a job comment on the screen.
-
Tap Export To Link-Live. This uploads the file to Link-Live.
Use Link-Live to Select Other Devices
This procedure is best performed on a PC-based browser.
-
Use a PC-based browser to log in to the Link-Live web site.
-
Tap the main menu icon
 .
. -
Click on Settings to open the settings menu.
-
Select EtherScope nXG to list the .o settings files available for your devices.
-
Select the settings file you want to transfer.
-
Follow the screen instructions to transfer the file to specific units or to all units that you have claimed.
Use Each Selected Unit to Import the Settings
This procedure is performed on the device to which you want to apply the settings.
-
Wait for up to 30 seconds after the file was pushed from Link-Live.
-
Swipe (touch and drag) downwards from the Status Bar at the very top of the home screen to display the Notification Panel.
-
Locate the notification that says there are new AutoTest settings from Link-Live and lists the profile name.
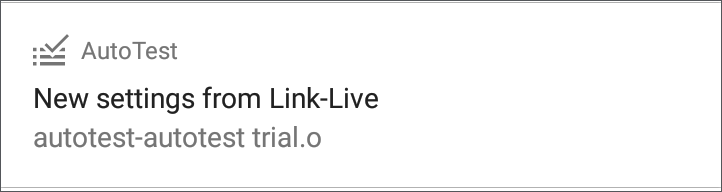
-
Tap on that notification to open the AutoTest application.
-
Tap on the save icon
in the top right. -
Tap on Import and navigate to Downloads.
-
Select the downloaded .o file to apply the new profile settings.
Import/Export Settings for All Apps
Your EtherScope nXG supports the importing or exporting of settings for all applications that allow import/export of settings.
To perform a group export or import:
-
Open the About Screen by tapping the navigation menu icon
in any NetAlly application and then tapping About. -
Tap the action overflow icon
 to display the export or import menu.
 -
To import settings:
-
Tap
-
(Optional) Use the Files app to navigate to a different folder.
-
Select the .nas settings file you want to import.
-
Tap Yes at the prompt to import the settings for all apps at the next system restart.
-
-
To export settings:
-
Tap
-
(Optional) Tap the Save To folder or tap Save As to open the Files app to select a different folder.
-
Tap Save to save the settings file.
-