Remote Access
AirCheck G3 supports remote access and control using either a standalone VNC client or the Link-Live Remote feature, which uses a VNC client through the Link-Live website.
NOTE: The Link-Live Remote feature is only available to customers with an active AllyCare subscription. Your AirCheck G3 must be claimed.
Visit Netally.com/allycare-support/ for more information.
You can establish remote connections using the Wi-Fi Test Port. However, the Management Port provides a more stable link for remote control because the test port may disconnect and reconnect frequently.
See Test and Management Ports.
The top notifications are the quickest way to find assigned IP addresses for your AirCheck G3 ports. Swipe down from the Status Bar to view them.
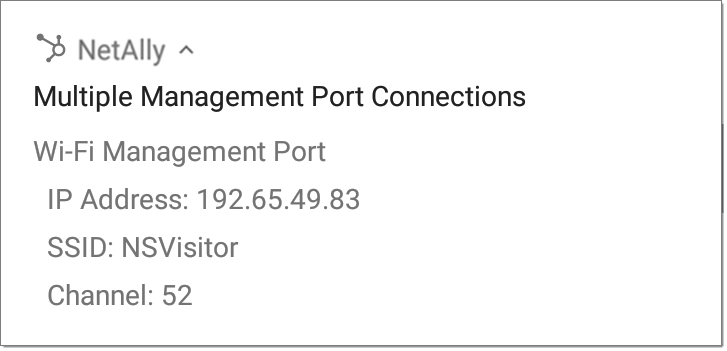
For a Wi-Fi Management Port connection, you must have the main System Wi-Fi settings configured to connect to a wireless network.
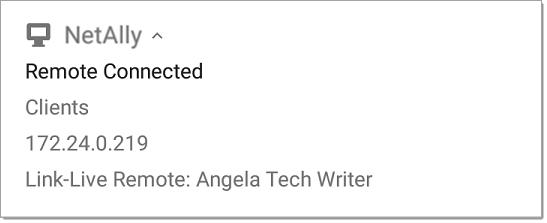
When a remote session is active, the remote icon  appears in the top Status bar, along with a notification.
NOTE: If you have screen lock settings enabled on your tester, when operating your tester device from a PC, you can lock and unlock the unit you are controlling remotely using the F1 and F2 keys on a keyboard. Move the mouse into your remote tester window and press F1 to lock. When the lock screen is displayed, move the mouse into the window and press F2 to unlock.
Using VNC
Remotely access the AirCheck G3 using a peer-to-peer VNC client installed on a PC or other machine.
See General Settings > VNC to enable and configure VNC connections.
NOTE: By default, VNC is disabled for AirCheck G3. See General Settings > VNC to enable and configure VNC connections. Configuring a VNC password is highly recommended for security purposes. Use VNC only on trusted and secure networks.
To connect to AirCheck G3 using a VNC client:
-
Get the IP address of a connected port
-
Provide the
-
Connect using your VNC client.
-
If needed, enter the password that is set in the VNC settings.
Using Link-Live Remote
The Link-Live Remote feature uses end-to-end SSL encryption, allowing secure remote control of your AirCheck G3.
On your AirCheck G3, go to General Settings > Link-Live Remote to ensure the feature is enabled.
NOTE: If a Password is enabled in the VNC General Settings, you must also enter the same password to access the Remote feature in Link-Live.
-
If you have AllyCare, sign in to Link-Live.com to access the Link-Live Remote feature. Your AirCheck G3 must be claimed.
-
Navigate to the Units
 page at Link-Live.com.
 -
Select the AirCheck G3 you want to remote control from the list of claimed units.
-
Click or tap the REMOTE icon
 at the top right of the page to open an embedded window containing the AirCheck G3 interface.
 -
If necessary, at the top of the window, enter the Password set in General Settings > Management > VNC on the AirCheck G3 unit.
To use the Link-Live website while your remote session is active, you must open a new Link-Live tab or window.