Introduction
Network changes happen and sometimes we forget to document them. Not a major problem until it happens a lot of times and then nobody can find out where devices on the network are connected. Does this sound familiar? How about identifying unauthorized devices connected to the network? You suspect they are out there, but how do you find and identify them?
That’s where Network Topology Mapping comes in! In this blog we will explain what Topology Mapping is, how to map your network, how to identify network problems, and how you can use topology maps to secure your network.
What is Topology Mapping?
Network topology refers to the arrangement of elements (including nodes, links, etc.) of a communication network. The most common types of network topologies include:
- Bus
- Ring
- Star
- Tree
- Mesh
- Hybrid
- Point to Point
- Daisy Chain
For more information about different types of topologies refer to our Types of Network Topology blog.
Meanwhile, topology mapping allows administrators to map out components and connections of their network in a graphical way, which is essential to ensure proper network documentation and to secure the IT infrastructure.
There are multiple types of topology maps, but the most common ones are:
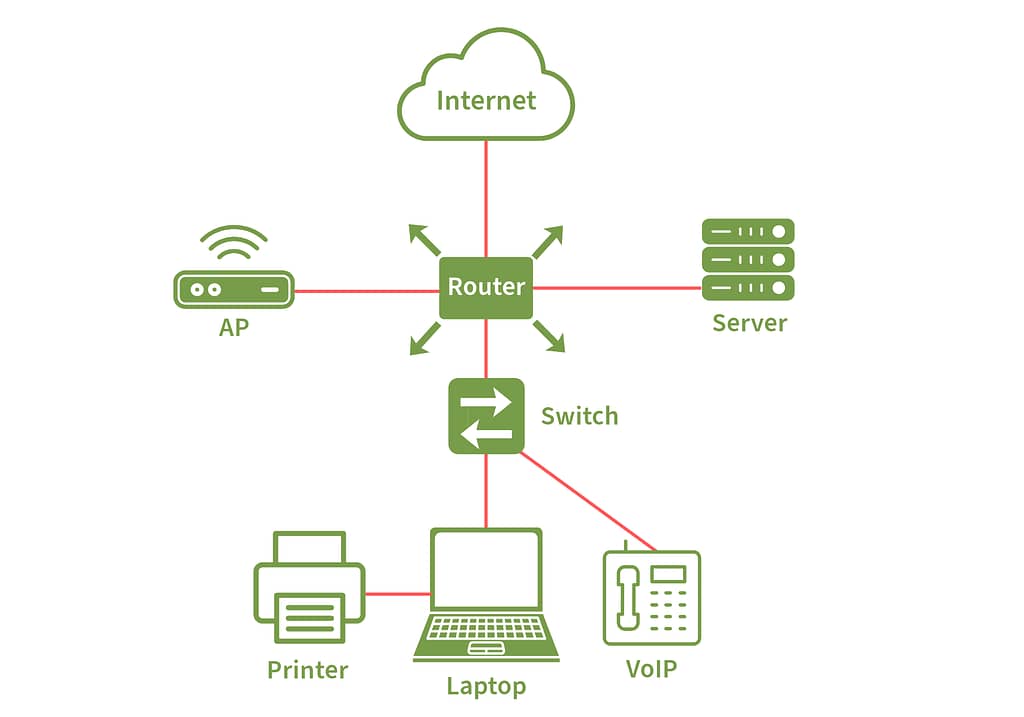
- Physical Network Maps – Used to visualize the layout of all physical components in the network.
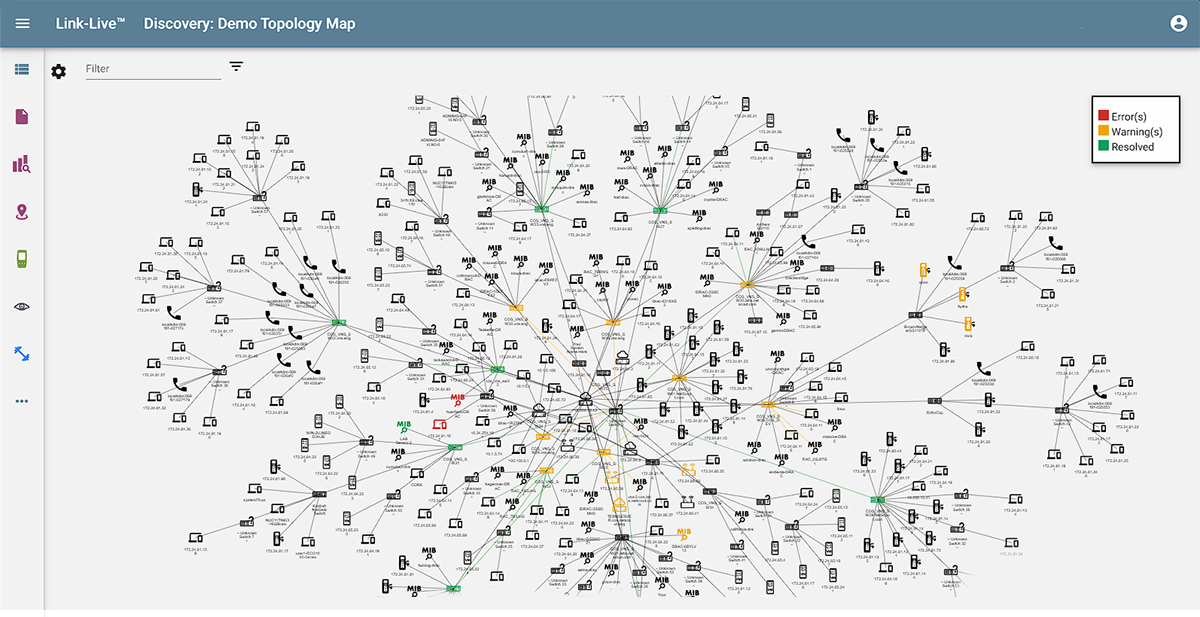
- Layer 2 & 3 Network Maps – Layer 2 maps show links between devices and highlight the different paths they can take to communicate with each other. Meanwhile, layer 3 maps show the IP addresses of devices and provide information about which networks and subnets they are connected to.
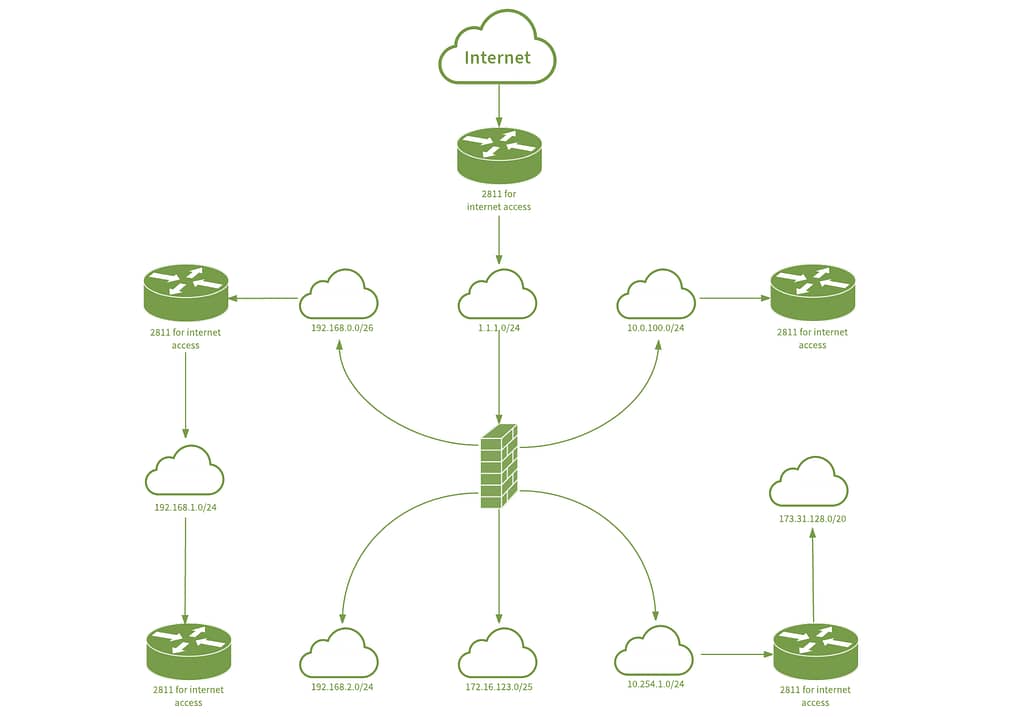
- Logical Map – Illustrates the routing of data from one device to another and provides an abstract representation of how data flows within a network.
How do I generate a Topology Map for my network?
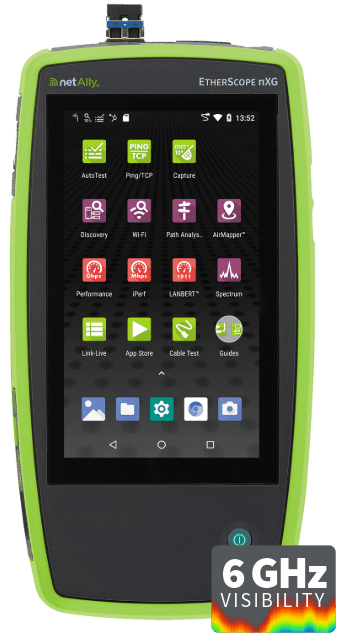
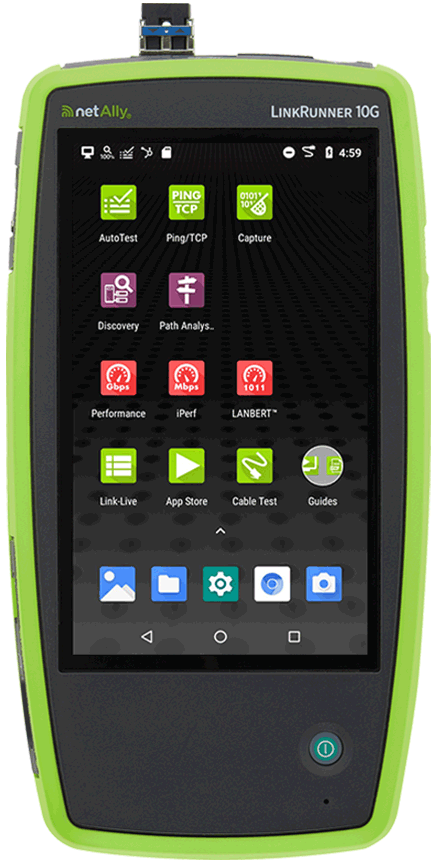
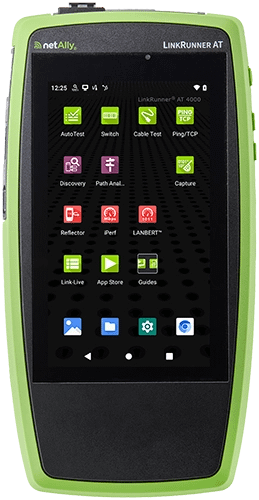
NetAlly tools simplify the process of generating layer 2 & 3 topology maps by automating the process of discovering and documenting all devices on the network. The NetAlly tools that support network discovery and topology mapping are:
To generate a topology map of your network with your preferred NetAlly tool do as follows:
- Connect your NetAlly tool to the network for which you want to generate a topology map. You can use any of the ports available in your tool to scan the network (ports available will vary per model).
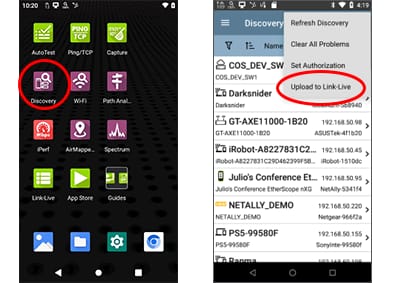
- Go to your units Home screen and open the Discovery app.
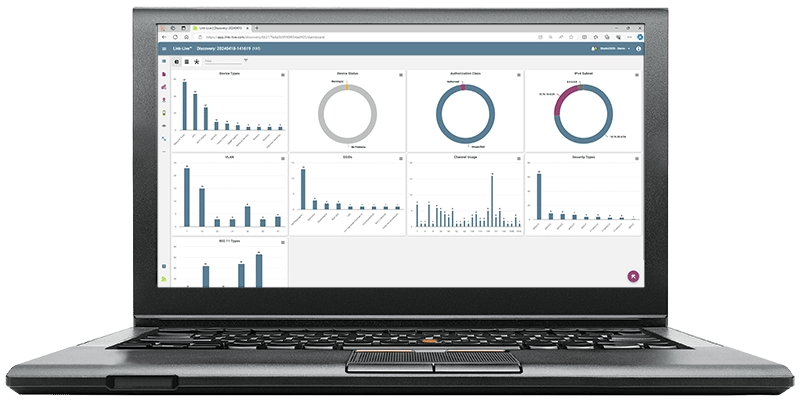
- Use the app to run a discovery test and upload your test results to Link-Live.
- For more information on how to use the Discovery app check out our tutorial video!
- Login to Link-Live and use the Analysis option to generate your topology map.
- Before uploading your discovery results to Link-Live you need to create an account and claim your unit. You can find more information on how to do that here.
- For more information on how to generate a Topology map in Link-Live refer to our tutorial video!
That’s it! You now have the option to generate CSV and Visio reports, download an SVG, or analyze the topology map that was created.
How do I analyze a Topology Map?
After generating a topology map, you can easily analyze the discovery data collected as follows:
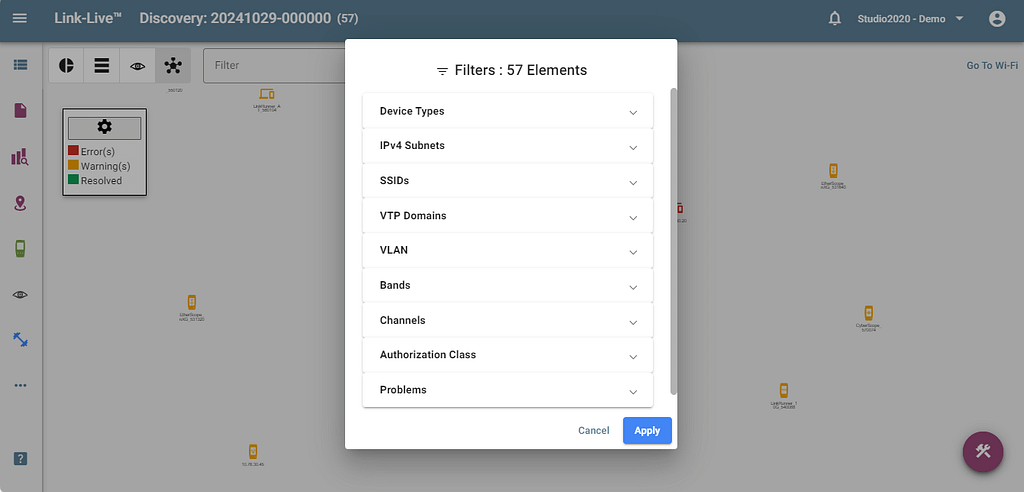
- Use the filter options available to select the network elements you want to analyze.
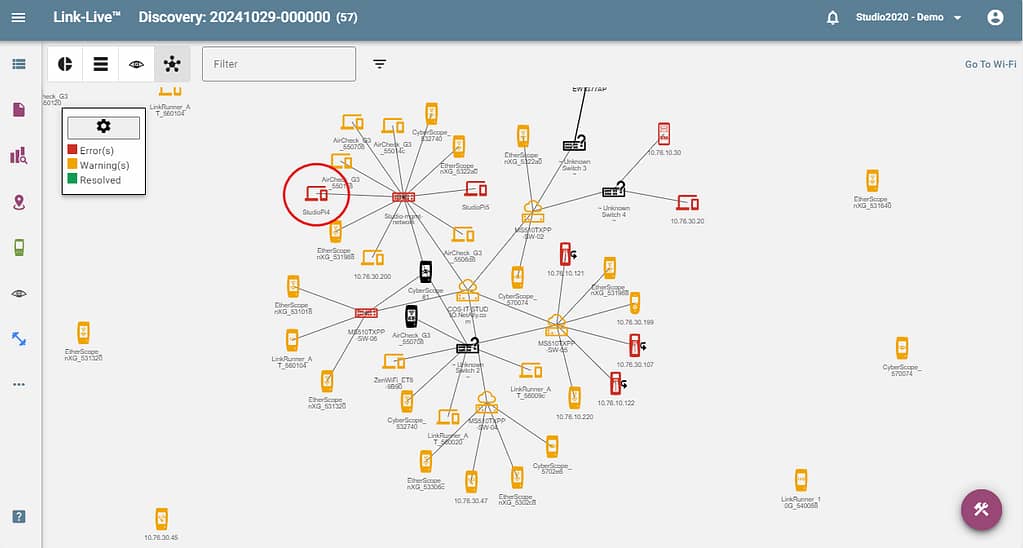
- Use the Topology settings to select what type of information you want to include in the topology map.
- Identify devices highlighted as red, yellow, or green to locate problems on the network.
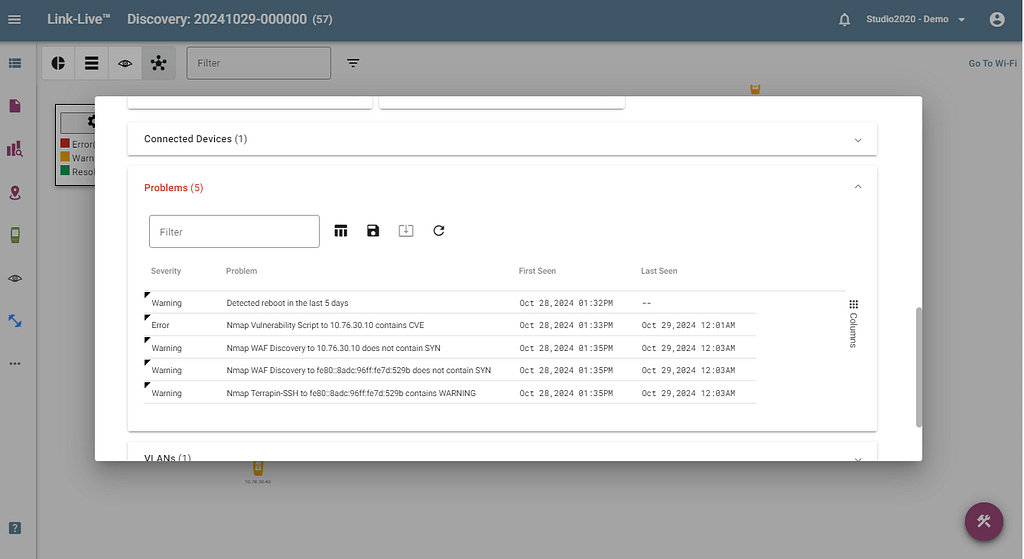
- Double click on problem devices to find more information about the issue that was identified.
How do I use Topology Maps to secure my network?
Topology maps in Link-Live can also be used to quickly identify unauthorized devices on the network and find out where they are connected. Here are two options:
- Authorization Class – Use the Name and Authorization option in your unit’s discovery app to classify devices as Unauthorized. Unauthorized devices on the network will be highlighted in red on the topology map. To learn how to assign name and authorization to multiple devices at the same time check out this video.
- Discovery Difference – Allows you to automatically identify changes in the network by comparing before and after discovery files. New or unknown devices in the network will be highlighted in red on the topology map. To learn how to use the Discovery Difference option in Link-Live to identify new or unknown devices refer to this video.
Conclusion
Don’t be blind to network problems! Topology mapping is not only essential to help you document your network but to simplify the process of identifying problems. Not only that, but topology maps also provide an easy way to discover and identify unauthorized or rogue devices on both the wired and wireless sides of the network.


