Analyzing test results to troubleshoot and locate WiFi problems can be a time consuming and difficult process. After all, the more efficient WiFi becomes, the more complicated the technology behind it is, which makes it harder to locate the root cause of problems. For example, end users could complain about getting randomly disconnected from the network. This is a common problem that could be caused by bad signal coverage, WiFi interference, non-802.11 interference, AP or DHCP configuration mistakes, constant channel changes, etc. So, how can you simplify the process of locating the root cause of WiFi problems and anomalies quickly? That is where WiFi Analysis Consoles come in!
In this blog we will explain what a WiFi Analysis Console is, why they are useful, what kind of problems they can help you locate, and how to use the WiFi Analysis Console available in Link-Live.
What is WiFi Analysis Console?
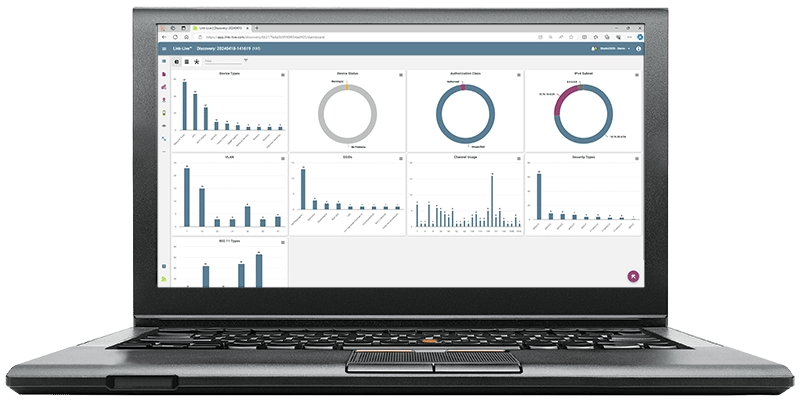
A WiFi analysis console serves as a dashboard of your wireless network and is loaded with comprehensive, summarized information about RF signal quality, network infrastructure, security and performance status, and frame communication on your WiFi environment.
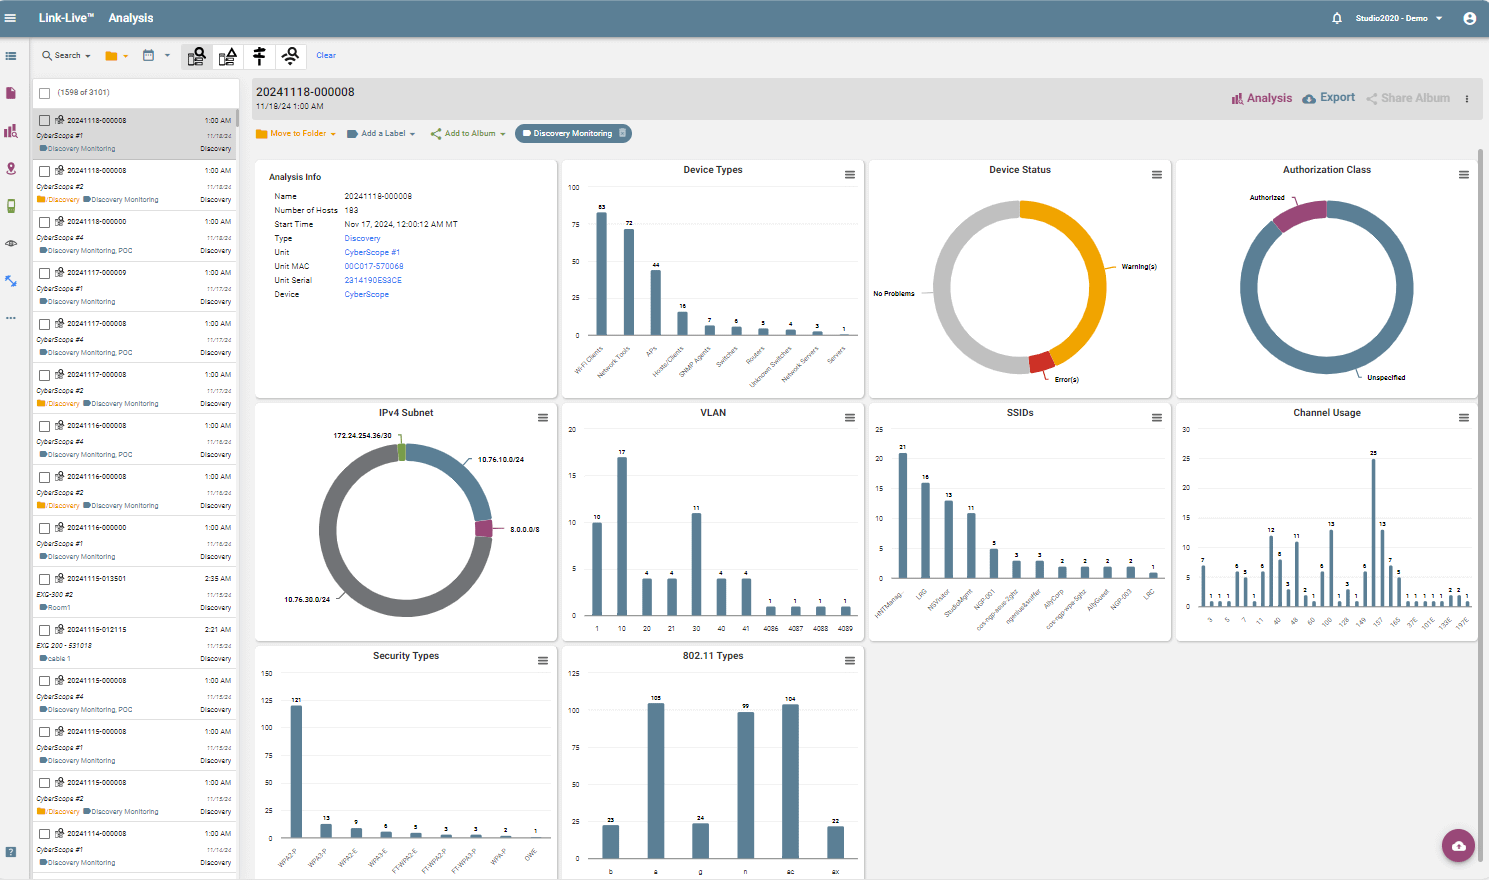
Its usability-focused dashboard interface allows you to get a quick overview of the traffic in the wireless environment, plus provides a comprehensive look at the status of your WLAN. It presents a quick snapshot of the overall health of your network without the need to dig for details but still allows you to drill down by clicking on the desired statistic.
Why are WiFi Analysis Consoles Useful?
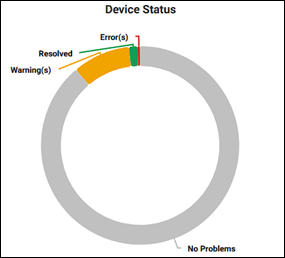
The main purpose of a WiFi analysis console is to analyze network connectivity, discover device configuration information, and identify the root cause of common problems. They take data collected by remote sensors, handheld testers, access points, and other network infrastructure devices, then organize and analyze it using predefined Pass/Fail thresholds or AI analytics. Making it easier to examine large samples of data and identify the main source of network problems.

How do I use a WiFi Analysis Console?
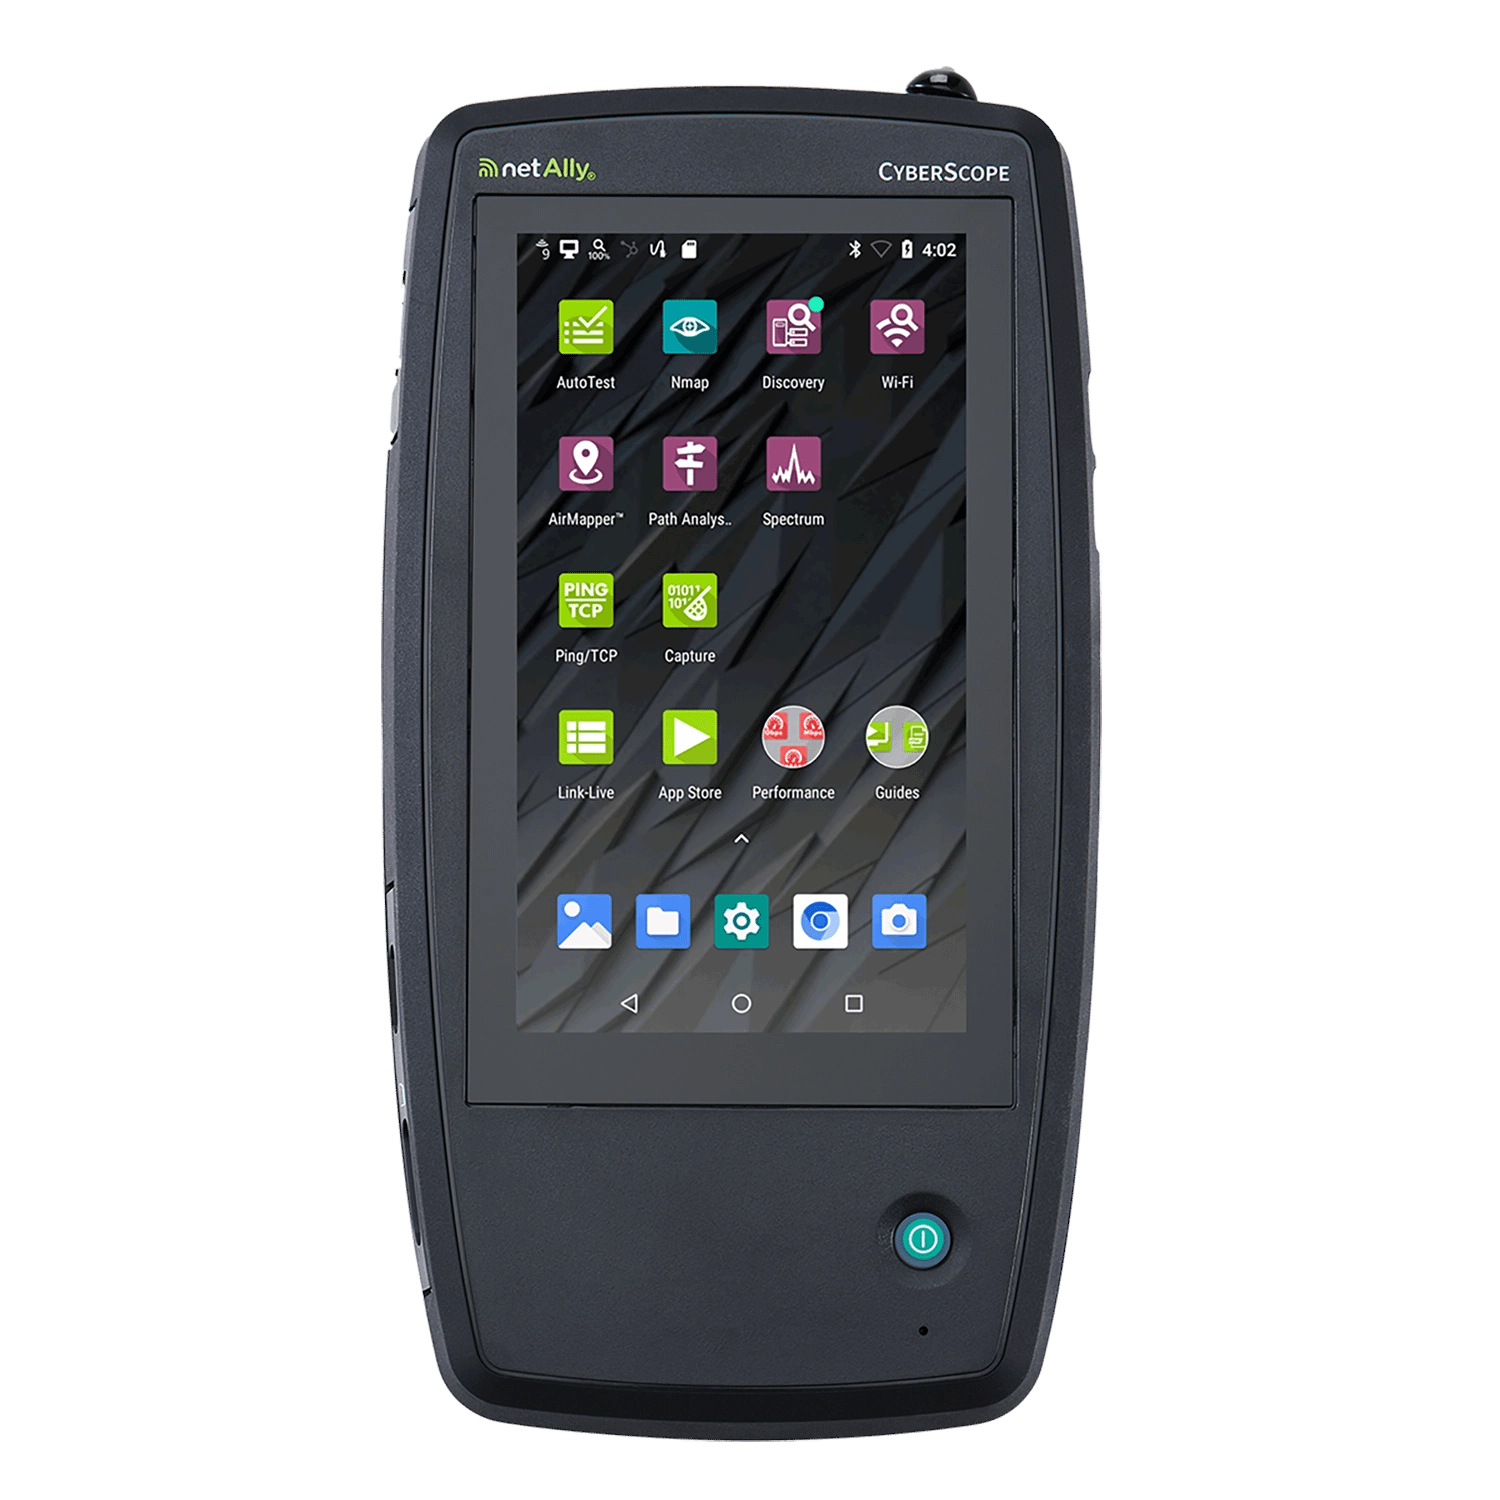
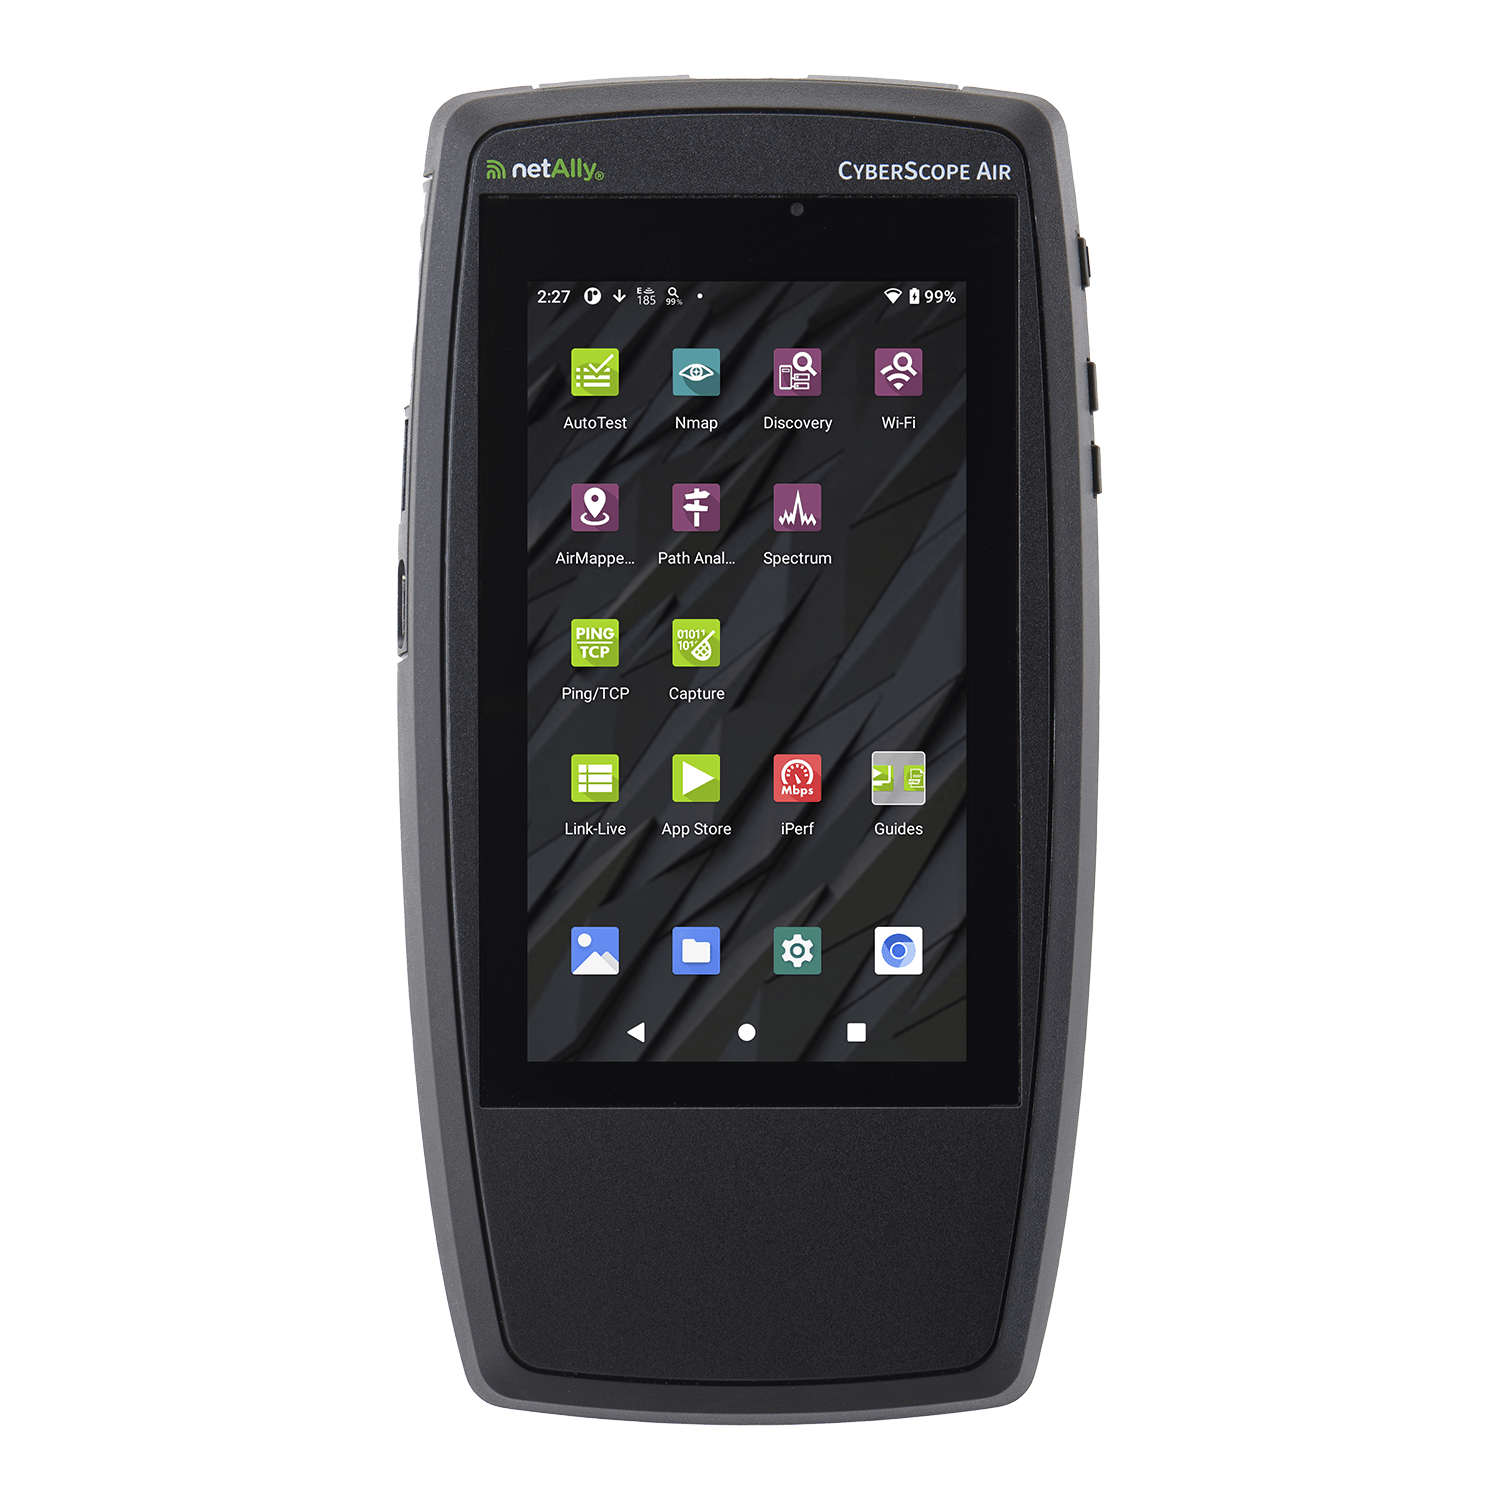
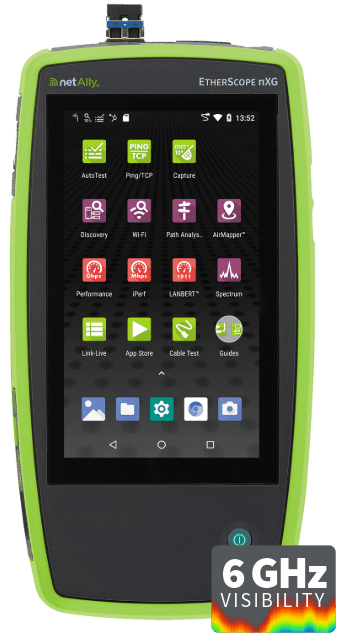
Using a WiFi Analysis Console like the one available in Link-Live is simple. After uploading your WiFi test results from a NetAlly handheld tester like the AirCheck G3, EtherScope nXG, or CyberScope to Link-Live do as follows:
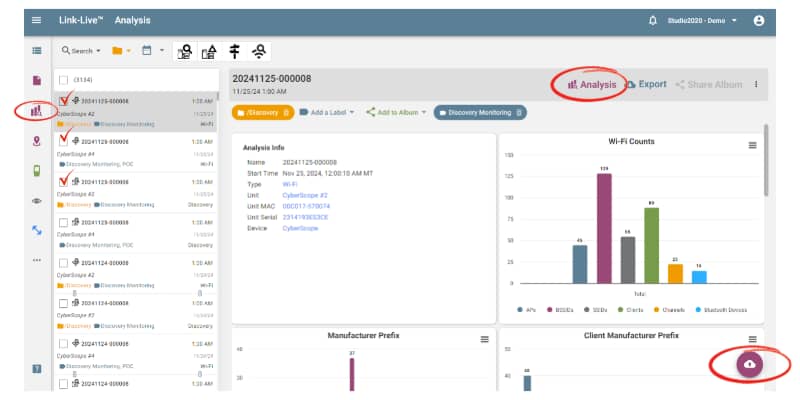
- Login to Link-Live and select the Analysis option on the left side of the screen.
- Use the filtering options available to locate your WiFi analysis data.
- Select your data from the list on the left side of the screen and click on the Analysis option on the upper right of the screen.
- Click on the Toolbox icon on the lower right of the screen.
- Select the InSites option and click on Run InSites.
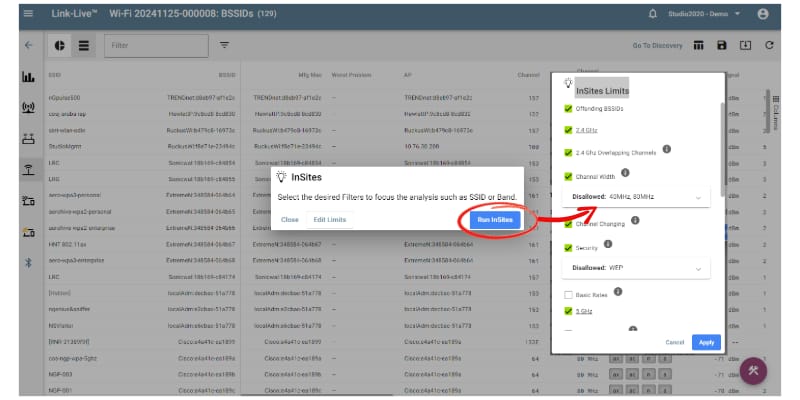
Optional: Select the Edit Limits option if you want to change the Pass/Fail thresholds used to locate problems. It is recommended you use thresholds that match your vendor or environment requirements.
A list of all BSSIDs (networks) on which a problem was identified will now show up on the screen. Problems will be highlighted in Red on the table or by showing a Warning/Error. Clicking on a Warning or Error message will allow you to see more details about the issue that was discovered.
Note: To find out how to upload your WiFi test results from a NetAlly handheld network tester to Link-Live, check out this video. For more information on how to use the Link-Live WiFi Analysis Console refer to our tutorial video.
What kind of Problems can a WiFi Analysis Console Help Locate?
A WiFi Analysis Console can help you discover the root cause of different types of wireless network issues. Here are some examples of common WiFi problems that Analysis Consoles can help you locate quickly:
- Co-channel interference (CCI) – Identifies interference problems caused by APs working on the same channel while covering the same area. CCI is a problem as it impacts network performance (causes slower speeds).
- Adjacent channel interference (ACI) – Identifies interference problems caused by APs working on overlapping channels while covering the same area. ACI is a problem as it impacts network performance, and increases retry rates.
- Disallowed channel widths – Identifies APs using channel widths that are not allowed. APs using disallowed channel widths could cause ACI problems, impacting network performance and increasing retry rates.
- Channel changing – Identifies APs that change channels multiple times a day.
Channel changing is a problem as all clients connected to the AP are disconnected during a channel change. This problem is normally caused by high levels of interference or configuration problems. - Disallowed security authentication methods – Identifies APs using deprecated authentication methods like WEP and WPA. The use of deprecated authentication methods is a security concern as they could allow unauthorized access to the network.
- Disallowed basic rates – Identifies APs using disallowed basic rates. It is recommended you disable lower basic rates like 1Mbps, 2Mbps, and 5.5Mbps on enterprise networks as they are known to cause performance problems on networks in which multiple SSIDs are used.
Note: For more information on common WiFi problems and how to fix them refer to our troubleshooting whitepapers!
Can I use a WiFi Analysis Console to Monitor my Network?
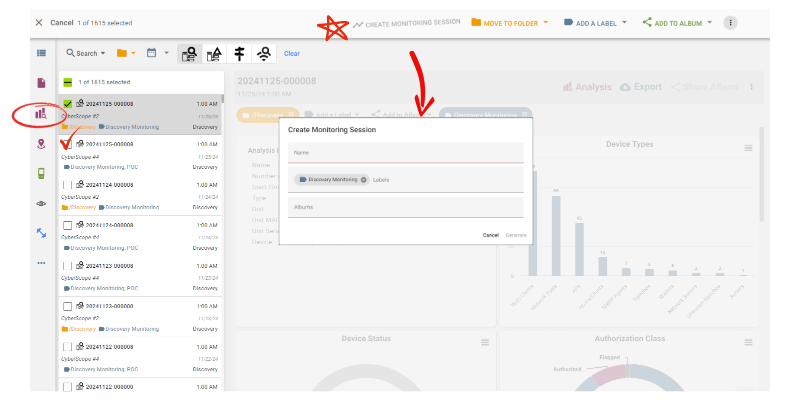
Besides discovering common network problems, a WiFi Analysis Console can also be used to monitor your network. Allowing you to easily document changes, proactively detect problems, or identify rogue or unauthorized devices. To use the Monitoring option in Link-Live do as follows:
- Use the Discovery app on your preferred NetAlly handheld tool to run a discovery test at predefined intervals and upload the results to Link-Live.
Note: Automated network discovery monitoring is only available on CyberScope, CyberScope Air, or CyberScope XRF. For more information on how to enable the Discovery Monitoring option in your unit check out this video. - Login to Link-Live and select the Analysis option on the left side of the screen.
- Use the filtering options available to find the WiFi analysis data you want to use to generate a Monitoring report.
- Select the WiFi analysis data you want to use to generate a Monitoring report by using the check box next to each file.
- Click on the Create Monitoring Session option on the upper right of the screen.
- Provide File Name, Labels, and select an Album if needed, then click on the Generate option.
- Click on the Analysis option on the left side of the screen and then select Monitoring.
- Use the list on the left side of the screen to select your Discovery Monitoring file.
- Click on the Wi-Fi option available on the upper right side of the screen.
- Use the data provided on the table to identify network changes!
For more details on how to analyze the Discovery Monitoring data available in Link-Live refer to the following tutorial video.
Conclusion
A WiFi Analysis console like the one included in Link-Live can be used to simplify and speed up the process of locating the root cause of WiFi network problems. Not only that, but it can also be used as a dashboard of your wireless network that provides comprehensive, summarized information about signal coverage, network devices, security and performance status, plus frame communication on your WiFi environment.
Don’t let WiFi troubleshooting and analysis consume all your time! Explore NetAlly’s range of wireless testing solutions and start using a WiFi analysis console to solve problems fast. Afterwards, use that extra time to work on your next big project or catch up on your video game backlog!


