Your network is only as strong as its weakest link – and when that link is a dirty fiber connector or a cable bent past its breaking point, you’ve got a problem. With Wi-Fi 7 promising multi-gig speeds and data centers pushing toward 100G and beyond, fiber connectivity has become the backbone that holds modern networks together.
In this tech tip, we’ll cover what fiber connectivity actually is, why testing matters more than ever, and how to troubleshoot the most common fiber optic problems before they impact your network.
Table of Contents
- What Is Fiber Connectivity and How Does It Work?
- Why Fiber Connectivity and Performance Testing Is Critical for Modern Networks
- Common Causes of Fiber Optic Connectivity and Performance Problems
- Fiber Optic Testing Tools and Methodologies
- How to Test and Troubleshoot Fiber Connectivity with NetAlly
- Next Steps
What Is Fiber Connectivity and How Does It Work?
So what is fiber connectivity? At its core, optical fiber connectivity uses thin strands of glass – about the diameter of a human hair – to transmit data using light instead of electrical signals. This differs from copper cabling, which relies on electrical pulses to move data.
How Do Fiber Optics Transmit Data?
Light signals are launched into the fiber’s core. As they travel down the cable, they bounce off the surrounding cladding layer. A protective buffer coating keeps everything intact. This light-based transmission is what allows fiber to achieve speeds and distances that copper can’t match.
Single-Mode vs. Multimode Fiber
There are two main types of fiber you’ll encounter:
Single-mode fiber (SMF) transmits light on a single path straight through the cable’s center. It’s the go-to choice for long distances – building-to-building connections, campus networks, or links from your ISP to your facility. Single-mode supports the highest bandwidths over distances measured in miles or kilometers. Common standards include OS1 and OS2.
Multimode fiber (MMF) has a larger core that allows multiple light paths to travel simultaneously, bouncing inside the cable. It’s more cost-effective but limited to shorter distances – typically inside data centers or for server interconnections. ISO standards range from OM1 through OM5, with OM3 and OM4 being most common in modern deployments.
Advantages of Fiber Over Copper
When comparing fiber to copper, fiber comes out ahead in several key areas. While copper has served networks well for decades, it has physical limitations that fiber simply doesn’t have. Here’s where fiber wins:
- Higher speeds: Copper maxes out around 10-40 Gbps, while fiber routinely handles 100 Gbps and beyond
- Longer distances: Copper is limited to 100 meters; fiber can run kilometers without signal degradation
- EMI immunity: Unlike copper, fiber isn’t affected by electromagnetic interference from nearby power cables or equipment
What Are the Disadvantages of Fiber Optic?
Fiber isn’t without limitations. While it outperforms copper in speed and distance, there are trade-offs to consider before making the switch. The two most significant:
- No Power over Ethernet (PoE): You can’t send power through glass. If you’re connecting an access point via fiber, you’ll need a separate power source or a hybrid cable with copper for power delivery.
- More fragile: Fiber requires careful handling. Bend it too sharply and you’ll crack the glass. Touch the connector end-face and you’ve introduced contamination that degrades performance.
Pro Tip:
Fiber optic cable connectivity problems often come down to cleanliness. A single speck of dust on a connector can cause significant signal loss. Always clean fiber end-faces before making connections – it takes seconds and prevents hours of troubleshooting.
Why Fiber Connectivity and Performance Testing Is Critical for Modern Networks
Despite what some may think, fiber isn’t becoming obsolete – it’s becoming more important every year. While end-user devices increasingly connect wirelessly, all that Wi-Fi traffic has to go somewhere. Every access point, every 5G antenna, every IoT gateway ultimately connects back to a wired infrastructure. For high-speed backhaul, fiber remains the clear choice.
Is Switching to Fiber Worth It?
This is one of the most common questions network professionals ask. The answer isn’t a simple yes or no – it depends on where in your network you’re looking:
- For edge connections (access points, end-user devices): Copper is still sufficient for the next 10-15 years. Even Wi-Fi 7’s theoretical 46 Gbps throughput translates to approximately 5 Gbps in real-world conditions – well within copper’s capabilities.
- For backbone and backend infrastructure: Yes. As 10G moves toward the edge and 100G becomes standard for switch-to-switch connections, fiber is the logical choice.
Fiber optic connectivity is critical in data centers, industrial environments, smart buildings, and anywhere you need high bandwidth over longer distances. Understanding how fiber optics are installed and maintained in these environments is an important skill for network professionals.
Common Causes of Fiber Optic Connectivity and Performance Problems
When fiber optic cable connectivity fails, the cause is usually one of the following:
Physical failure:
- Broken fiber from excessive bending (fiber has a minimum bend radius – exceed it and you’ll need new cable)
- Disconnected cables or loose connections
- Wrong connector types (they’re color-coded for a reason – matching colors matter)
Signal loss issues:
- Cable runs exceeding distance specifications
- Bad connectors or faulty splices
- Too many splices in a single run
- Incorrect transmit power settings
Contamination problems:
- Dust, fingerprints, or scratches on connector end-faces
- Moisture in splice enclosures
- Dirty patch panels
Environmental factors like temperature extremes can also impact fiber performance, though properly installed fiber is generally resilient to weather conditions that would cause problems for copper.
Fiber Optic Testing Tools and Methodologies
Different problems require different fiber testing tools. Knowing which tool to use for each situation improves efficiency:
| Tool | Best For | How It Works |
| Visual Fault Locator (VFL) | Finding breaks, testing continuity | Sends visible laser light through fiber – breaks glow red |
| Light Source & Power Meter (LSPM) | Measuring signal loss accurately | Compares transmitted vs. received power |
| Optical Fault Finder | Quick distance-to-fault identification | Measures reflected light to locate problems up to 1,500m |
| OTDR | Advanced diagnostics, characterizing individual events | Maps entire fiber run showing every splice, connector, and fault |
| Fiber Inspection Camera | Detecting contamination | Visual inspection of connector end-faces |
For most fiber optic troubleshooting scenarios, start with power loss measurements to confirm there’s a problem, then use additional tools to pinpoint the cause.
How to Test and Troubleshoot Fiber Connectivity with NetAlly
NetAlly tools function as an LSPM for fiber cable testing, measuring power loss to validate fiber links. Network teams using the right testing approach typically save 60% of their troubleshooting time. Here’s the recommended workflow:
Testing Fiber Loss (Connectivity Validation)
- Connect your NetAlly tester to one end of the fiber using an SFP (NetAlly testers are SFP-agnostic – any manufacturer’s SFP will work)
- Connect the other end to a switch’s SFP port
- Run the built-in Switch test
- Compare measured loss against acceptable thresholds for your application
Validating Performance and Detecting Intermittent Issues
- Connect your NetAlly tester via SFP to one end of the fiber
- Connect the other end to a loopback plug or second NetAlly tester
- Run the LANBERT app for optical fiber testing
- Let it run for extended periods (up to 24 hours) to catch intermittent problems that don’t appear during brief tests
Using Fiber Inspection Cameras
NetAlly tools support USB-based fiber inspection cameras. Connect the camera to your tester’s USB port, launch the inspection app (downloadable from the Link-Live app store), and visually check for contamination before making connections.
NetAlly tools excel at detecting power loss problems and measuring their severity. To identify the exact root cause or location of a fault, you’ll need complementary tools like an OTDR or fiber inspection camera. NetAlly identifies that something is wrong – additional tools help determine exactly what and where.
Pro Tip:
Don’t skip the inspection step. The most common fiber problems come down to contamination that’s invisible to the naLearning how to calculate a fiber loss budget is essential as it tells you whether a fiber link will actually work before you build it — and confirms after installation that it was built correctly. Make sure to check out video on how calculate fiber loss budget before installing you next fiber runked eye but shows up immediately under a fiber scope. A 30-second inspection can save hours of fiber optic testing time.
Next Steps
Fiber connectivity is becoming more critical as bandwidth demands continue to increase. Regular fiber optic testing should be part of your network maintenance routine, not just a response to problems.
The right fiber testing tools make the difference between quick validation and time-consuming guesswork. NetAlly’s approach combines power loss measurement with performance validation, providing the visibility needed to keep fiber infrastructure running reliably.
Ready to improve your fiber testing workflow? Explore these NetAlly solutions:
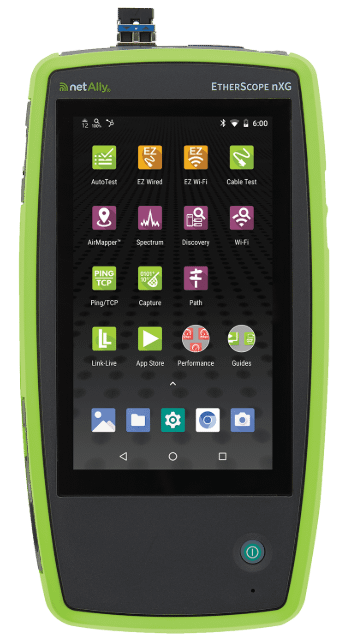
- EtherScope nXG – All-in-one network tester with fiber SFP support and LANBERT media qualification
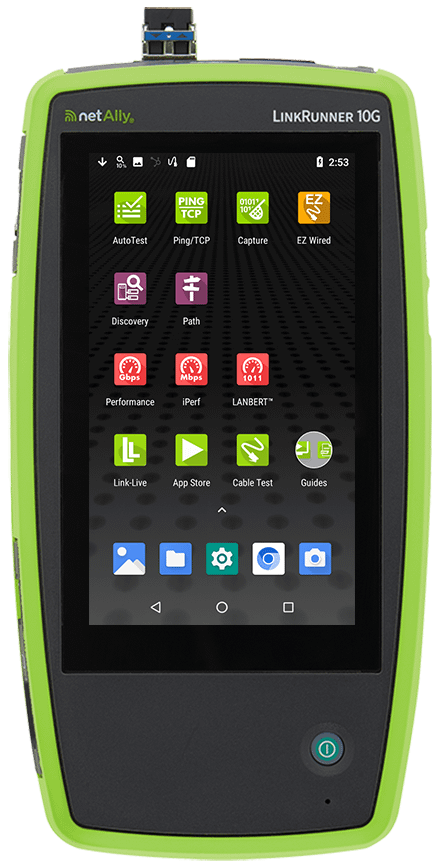
- LinkRunner 10G – Advanced multi-gig/10G tester for copper and fiber validation
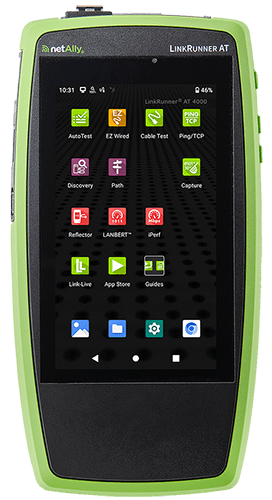
- LinkRunner AT 4000 – Smart network and cable tester with fiber diagnostics
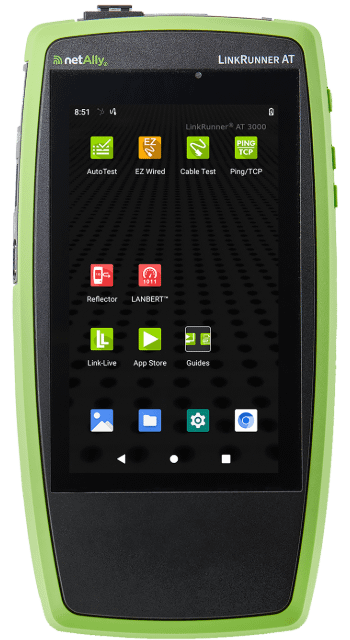
- LinkRunner AT 3000 – Network cable and connectivity tester with fiber support